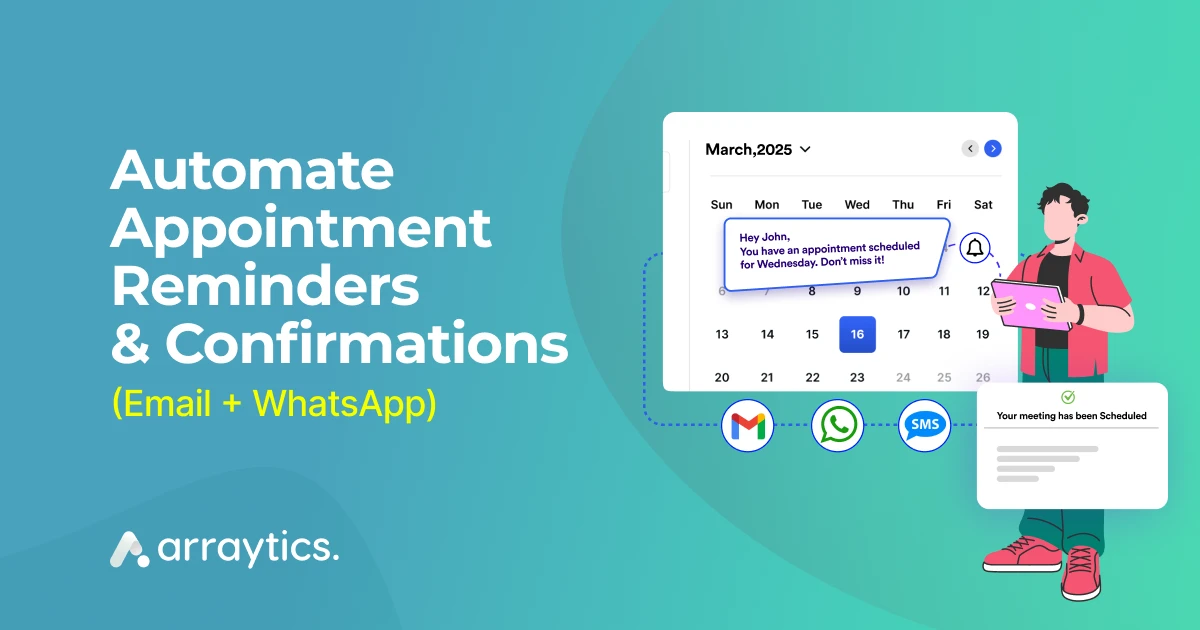
How to Automate Your Appointment Reminders and Confirmations with WP Timetics
Managing appointments and keeping track of client schedules can be a challenging job for any business owner. With multiple bookings, reminders, and last-minute cancellations, it’s easy to feel overwhelmed.
If your business website uses WordPress and you need a booking system that handles appointment reminders and confirmations, consider WP Timetics. This powerful appointment booking plugin can handle your entire booking process.
Now, we will explore how WP Timetics can automate your appointment reminders and confirmations. By the end of this tutorial, you’ll have a clear understanding of how to automate email reminders, enhance your business operations and improve client satisfaction. Let’s dive in!
Importance of Appointment Reminders and Confirmations
If your business relies on scheduling, then automated appointment reminders are not just a convenience; they are a necessity. Here’s why they are so important:
- Reduce Missed Appointments: A gentle, automated reminder ensures that your clients don’t forget their appointment booking. You can reduce no-show rates.
- Save Time and Resources: Manually sending reminders and confirmations takes time and effort. But automation eliminates this repetitive task, freeing up your team.
- Adjust to Customer Preferences: Some clients prefer email notifications, while others rely on SMS. Automation plugins allow you to cater to these preferences, ensuring your communication reaches clients.
- Improve Overall Customer Experience: Receiving a timely reminder or confirmation shows professionalism and helps clients plan their day around their appointments. These small touches build trust and lead to a better overall experience.
💁♂️ Good Reads: Guide to Ensure WordPress Security: Safeguarding Your Website – Learn more
Why Choose WP Timetics Booking Plugin?
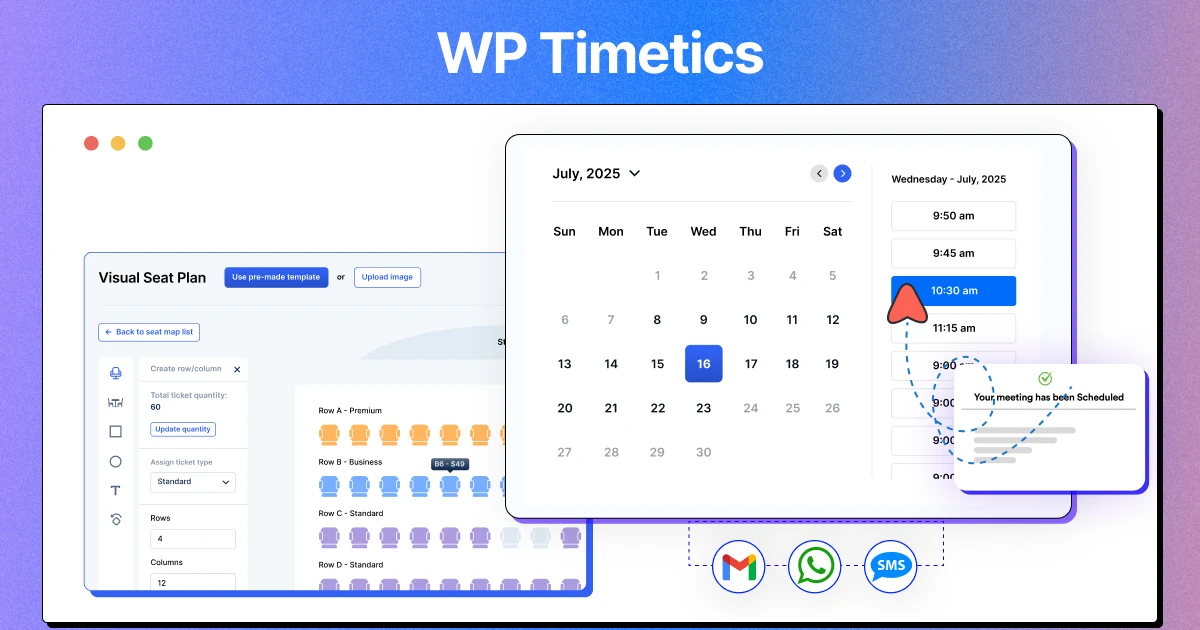
WP Timetics is the most advanced booking system for scheduling appointments and meeting solutions for WordPress! It is suitable for all types of niches and provides the ultimate booking solution. Either you need a booking system for your salon to manage customer serials or automate your appointment reminders and confirmations. This plugin easily handles all of this, including recurring appointment booking, customizable seat plans, and multiple payment options.
Highlighted Features:
- Advance User Dashboard
- Unlimited Meetings Options
- Multiple Meeting Types
- Multiple Pricing Tiers for Tickets
- Detailed Analytics & Report
With WP Timetics, you’re not just booking appointments—you’re building trust with clients through automation and professionalism.
Set Up WP Timetics for Appointment Reminders and Confirmations
Automating appointment reminders and confirmations with the WP Timetics booking plugin is an easy process. This tutorial guide covers the whole process in 7 easy steps. If you are already using the WP Timetics booking plugin, you can skip the plugin setup part
Let’s set up your appointment reminders.
Step-1. Install and Activate WP Timetics
- Log in to your WordPress admin dashboard.
- Navigate to Plugins > Add New and search for “WP Timetics “
- Click “Install Now” and then “Activate” once the installation is complete.
- You’ll see a new Timetics menu added to your WordPress dashboard.
Step-2. Configure General Settings
- Go to the Timetics Settings tab.
- Adjust general settings such as time zones, default currency, and date/time formats to match your business requirements.
- Save changes to ensure proper configuration.
Step-3. Set Up Booking Calendars
- Navigate to Timetics > Calendars and create a new calendar.
- Name your calendar based on your services or staff (e.g., “Gym Consultation”).
- Define working hours, available time slots, and buffer times between appointments.
- Save the calendar settings.
If you face trouble creating a meeting or scheduling an appointment, then follow this detailed documentation.
Step-4. Enable Appointment Reminders and Confirmations
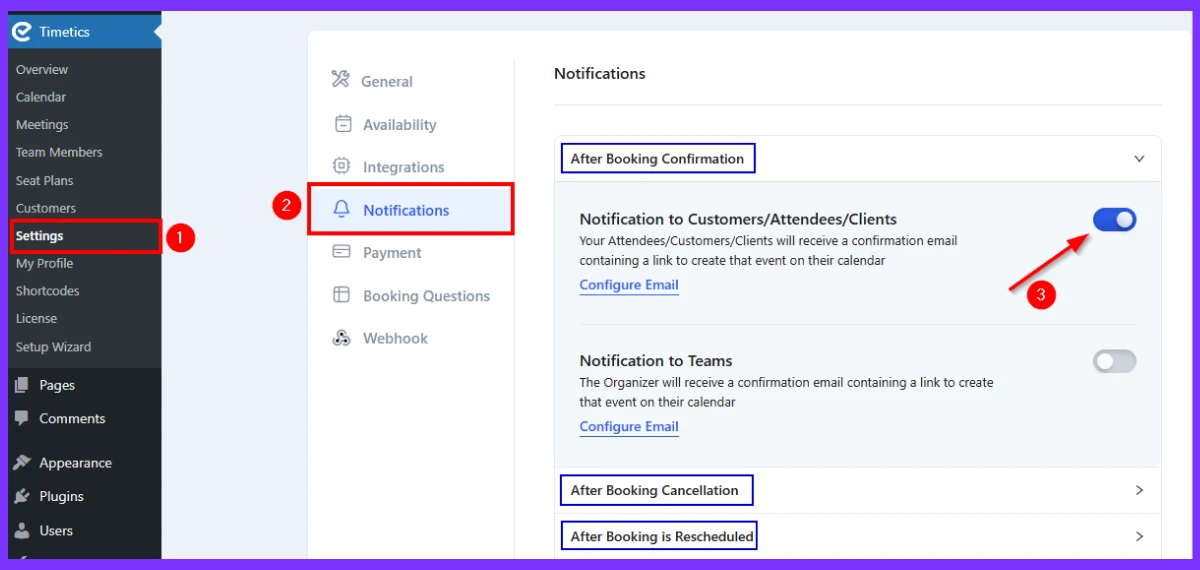
Go to Timetics > Notifications to enable your appointment reminders and confirmations.
Select available booking notification :
- After Booking Confirmation
- After Booking Cancellation
- After Booking is Rescheduled
- Reminder Before Meeting
Customize each type of notification based on your business needs
Step-5. Configure Reminder Email Templates
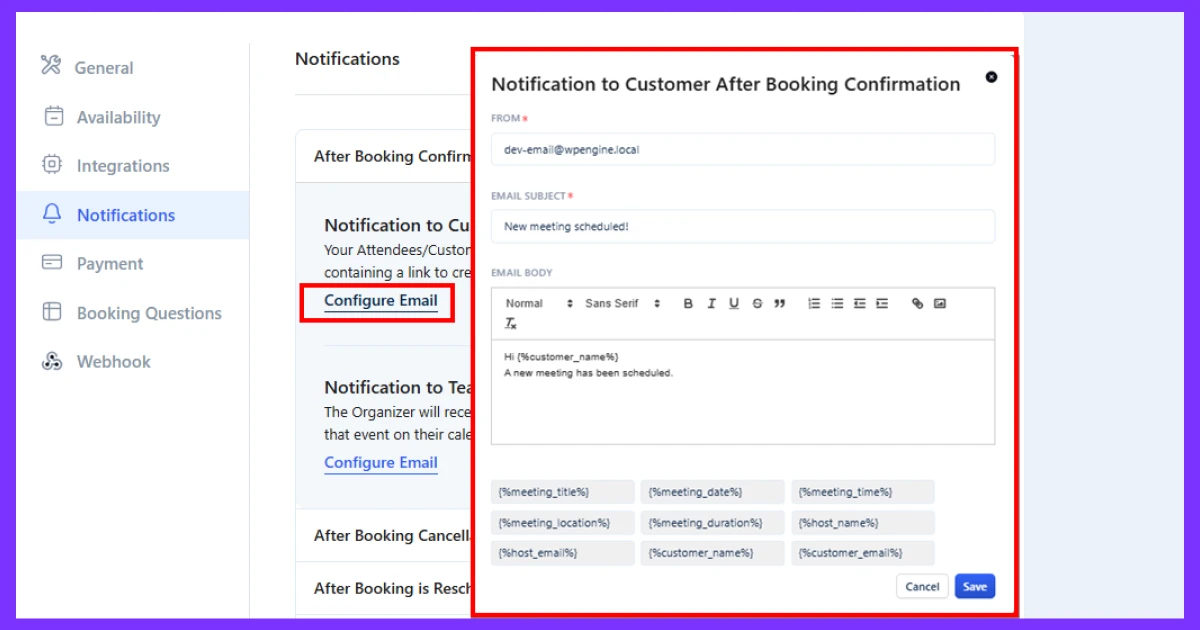
Write a professional and friendly reminder message, ensuring it includes all essential appointment details. Example:
- “Hi {ClientName}, this is a friendly reminder about your upcoming appointment for {ServiceName} on {AppointmentDate} at {AppointmentTime}.”
Preview and Save
- Preview the email template to ensure it looks polished.
- Save your changes to activate the customized reminder.
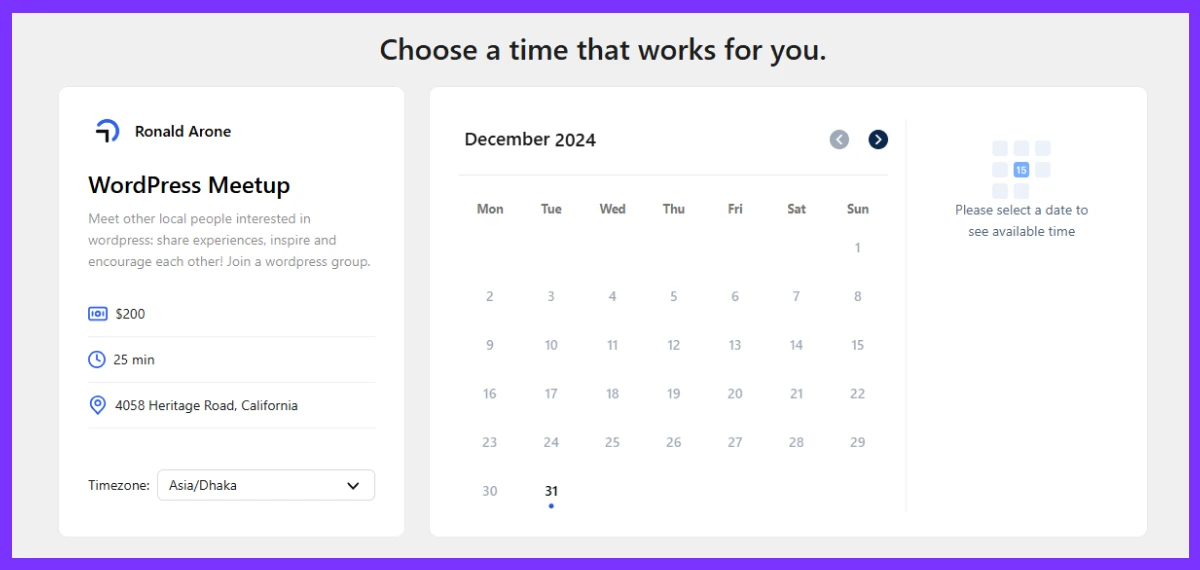
Step-6. Test the Booking Process
Visit your website and book a test appointment to ensure everything is functioning correctly. Check the following:
- Booking confirmation is sent immediately after booking.
- Reminder emails are sent at the right time before the appointment.
- The content in the messages is accurate.
Step-7. Publish the Booking System on Your Website
Add the booking calendar to your website by using a shortcode:
- Go to Pages or Posts, and create/edit the page where you want the booking form to appear.
- Insert the WP Timetics shortcode (e.g., [timetics_booking]) in the editor.
Preview the page to ensure the booking form is user-friendly and functional.
Create WhatsApp Appointment Reminders and Confirmations
With WP Timetics, you can send appointment reminders and confirmations directly via WhatsApp. This ensures timely and effective communication, as WhatsApp messages have a high open rate and are more likely to reach your clients.
To create this WhatsApp appointment reminder SMS, you need to integrate WP Timetics with Twilio for this. It allows sending messages via WhatsApp. Here’s a step-by-step guide to set it up:
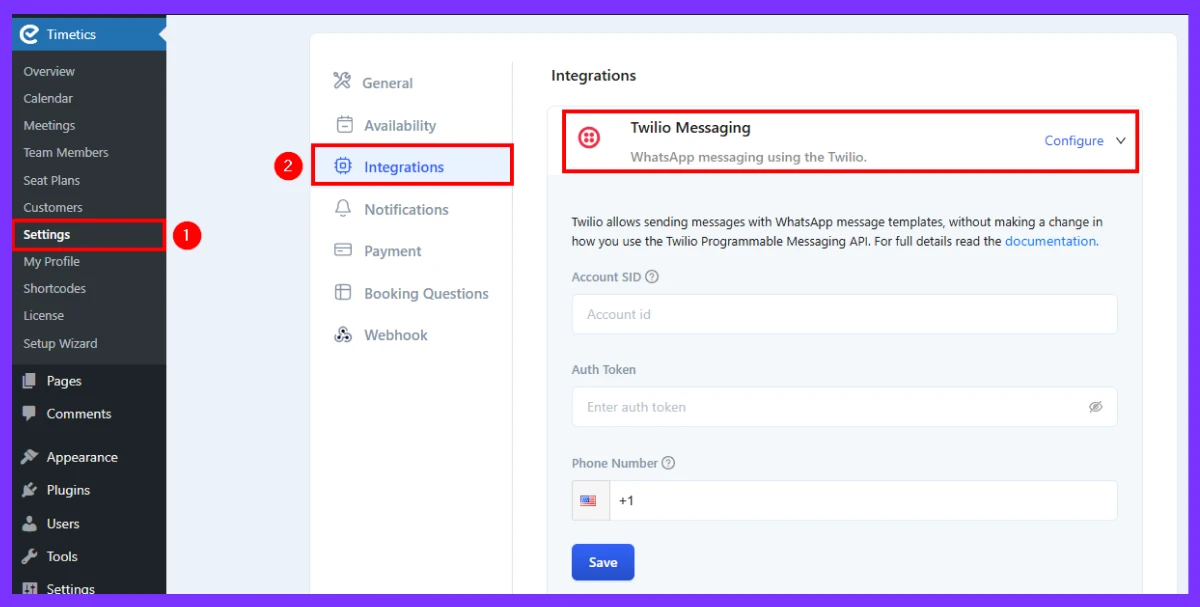
Step 1- Navigate to Integrations Settings:
- Go to Timetics > Integrations in your WordPress dashboard.
Step 2- Enable WhatsApp Notifications:
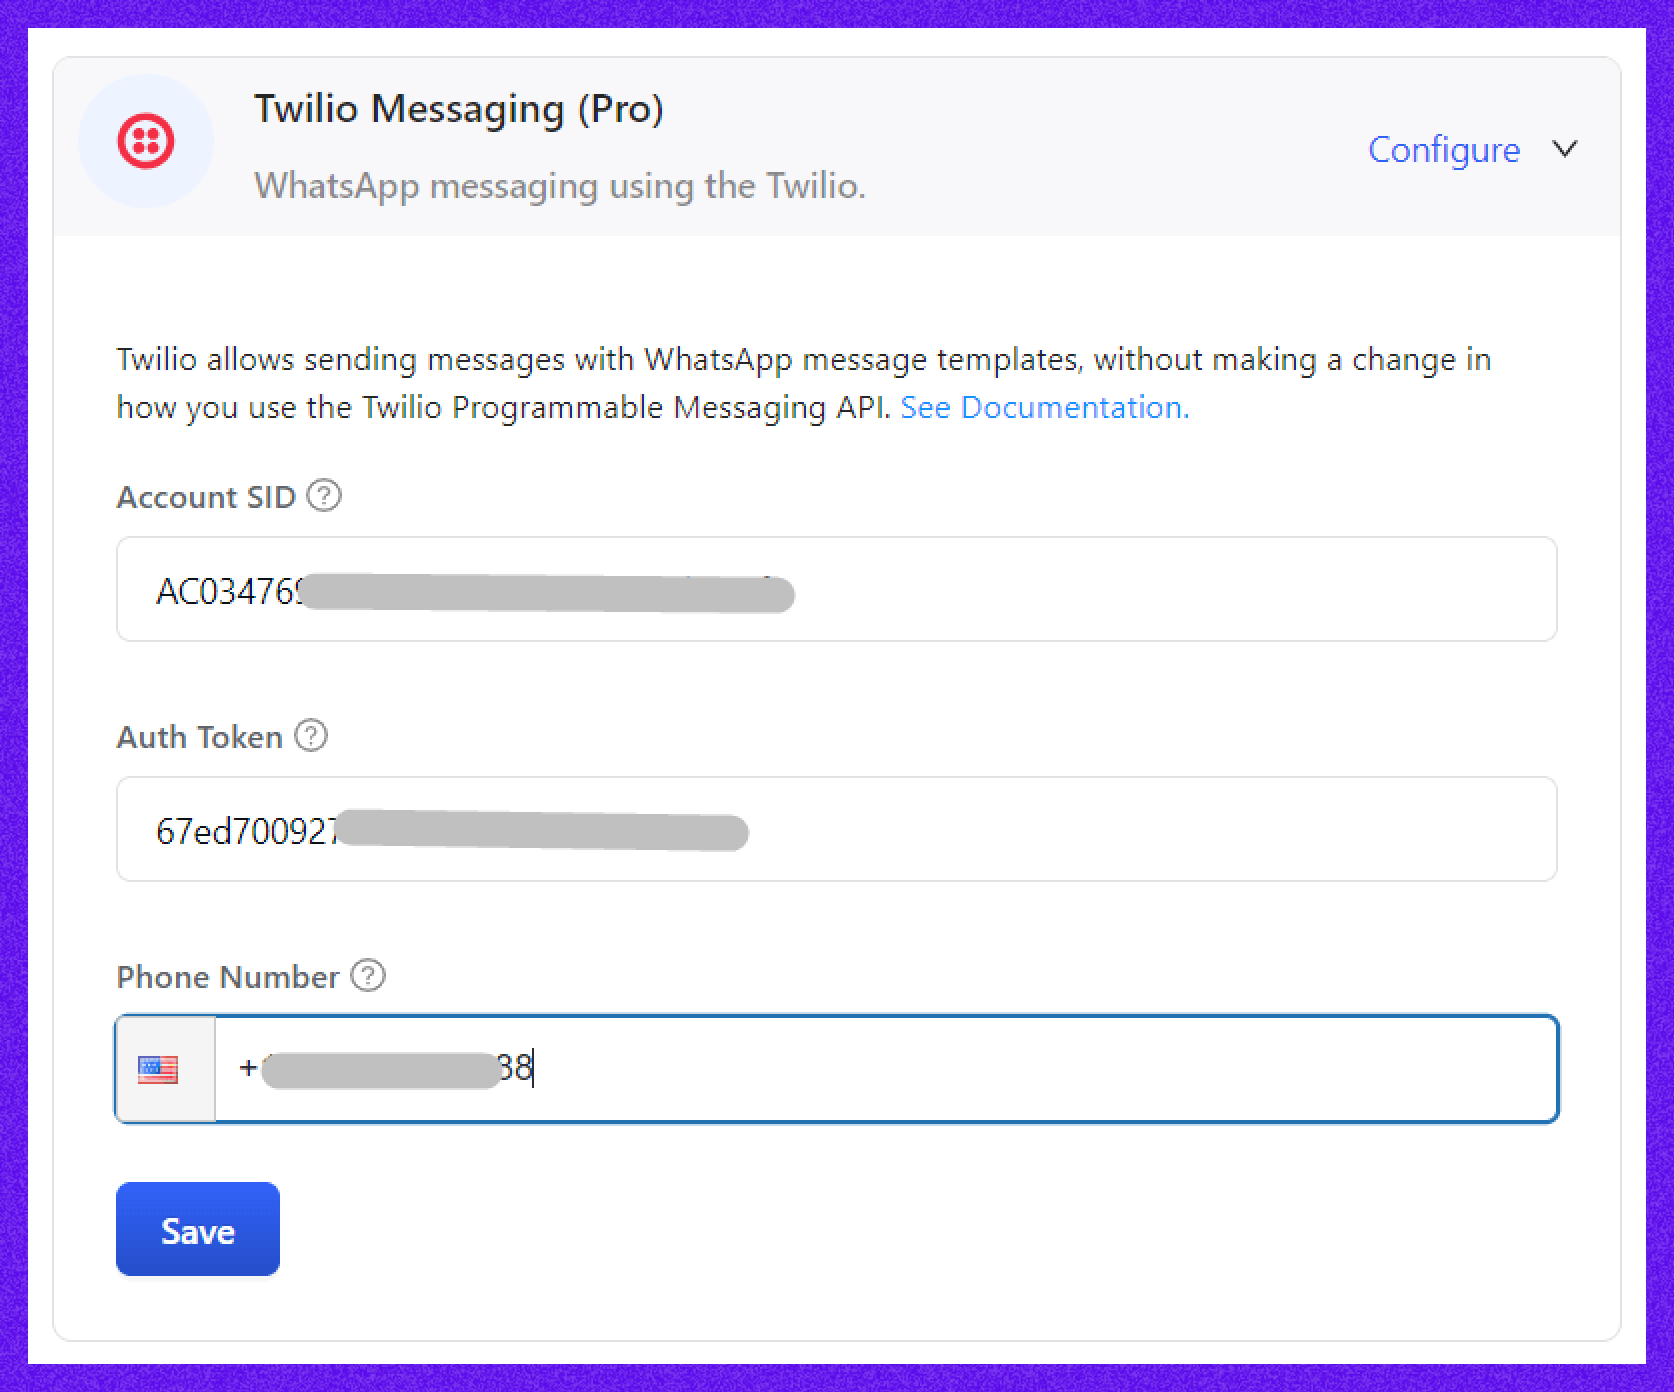
- Look for the Twilio Integration option and Configure.
- Enter your Twilio Account SID, Auth Token, and the WhatsApp phone number .
Step 3- Create a Twilio Account:
- Visit Twilio and sign up for an account.
- Complete the necessary verification steps.
Step 4- Enable WhatsApp Messaging
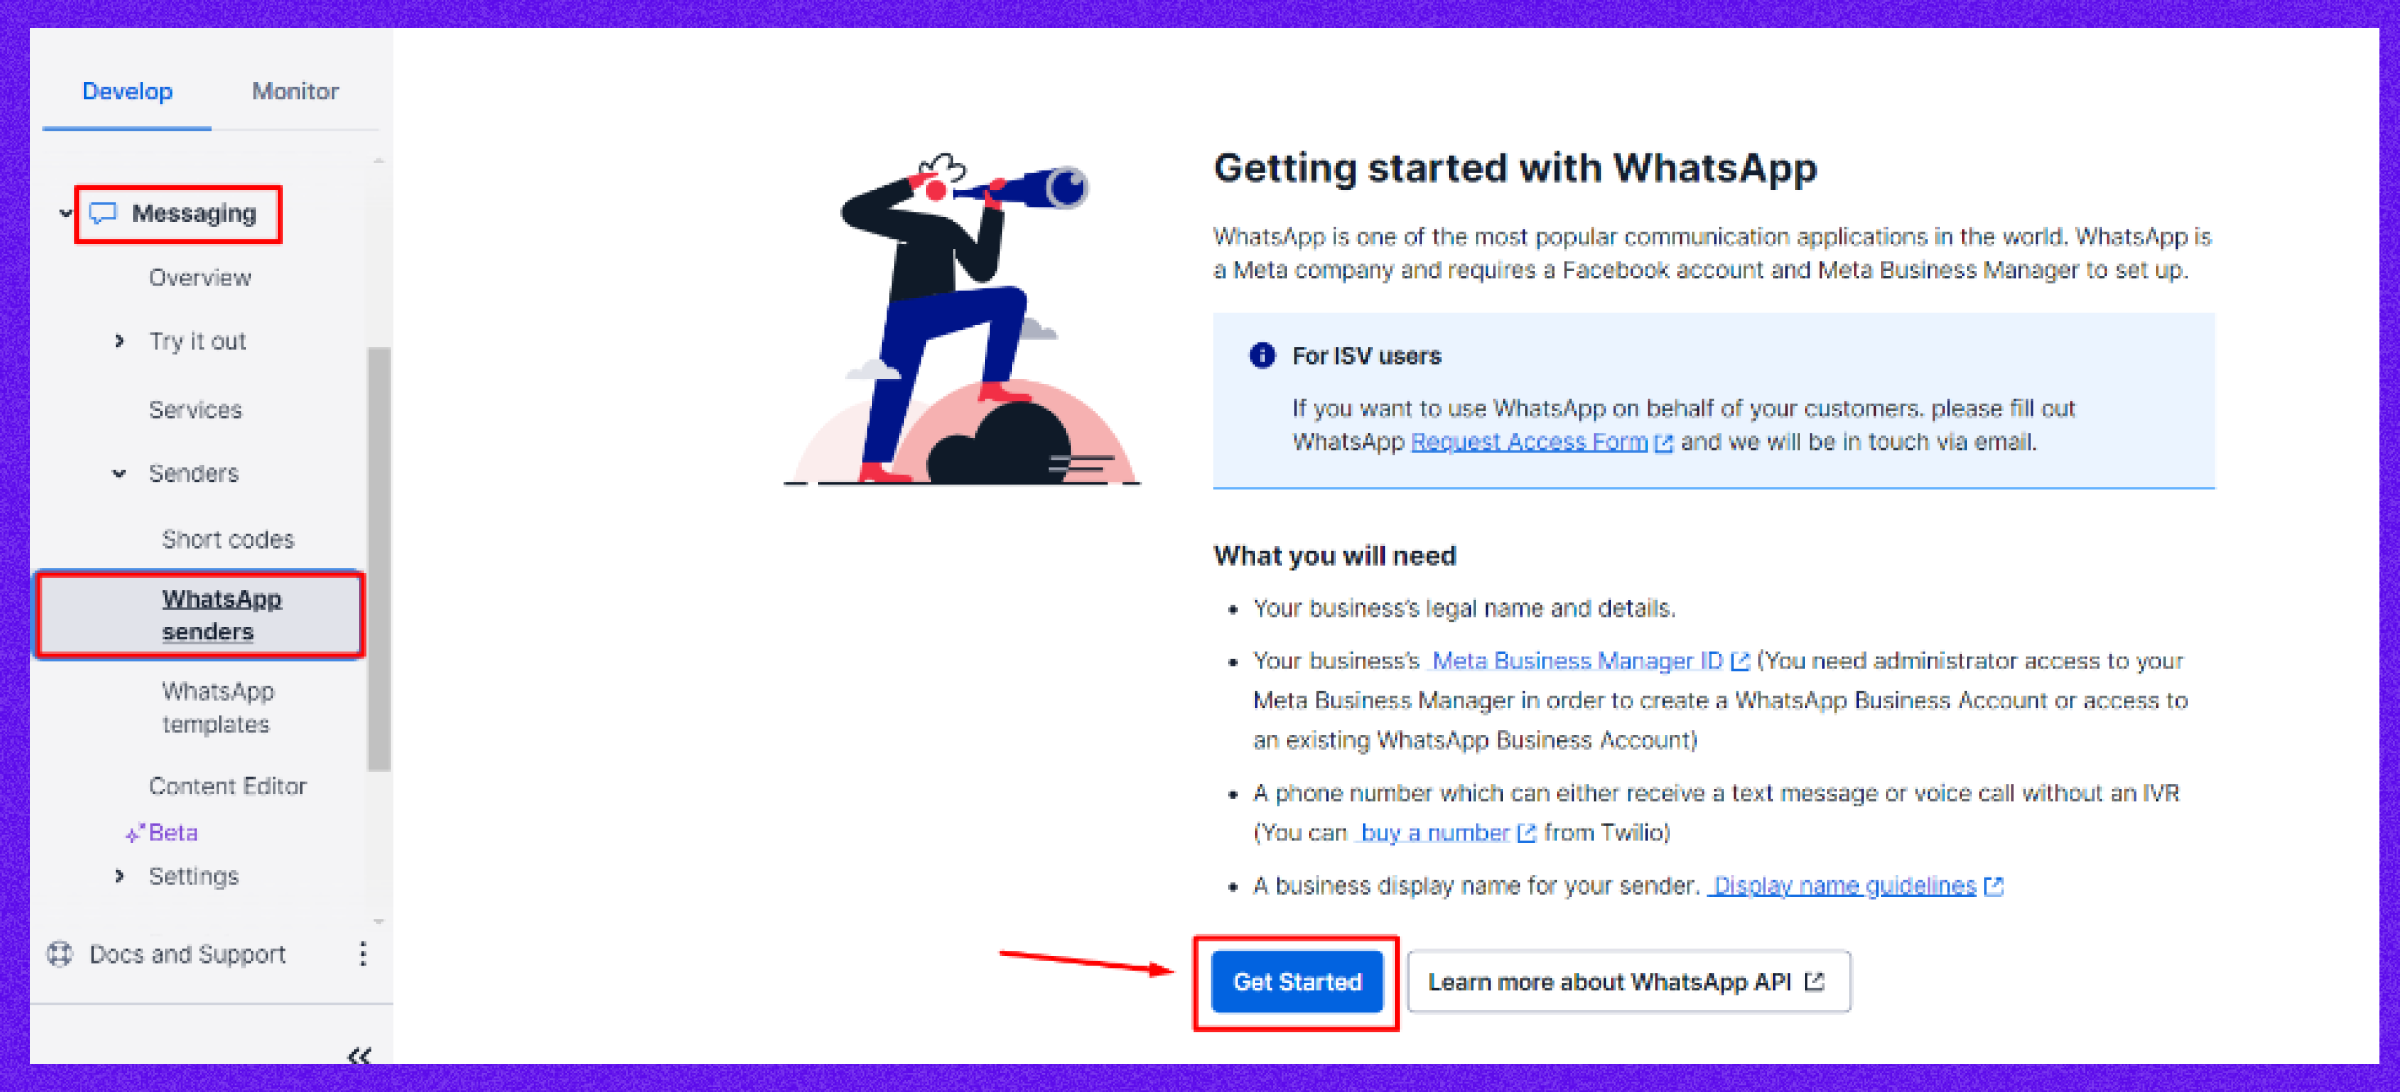
To enable the WhatsApp sender, navigate
- Explore Products > Messaging tab > Senders > WhatsApp Senders.
- Now, click on the “Get Started” button to start verifying your Sender ID.
Step 5- Get Twilio API Credentials
Navigate to the WP Timetics > Settings > Integrations > Twilio Messaging and insert the Twilio Account SID, Auth Token and Phone Number and save changes.
It is necessary for the customer to provide the phone number that has been enabled for WhatsApp in order to schedule any meeting. Once the booking has been made, they will receive a WhatsApp notification when they make the booking.
Before fully deploying WhatsApp for business or customer communication, it is essential to conduct thorough testing to ensure reliability and a positive user experience. Continuous monitoring is necessary to keep WhatsApp as an effective channel for engagement.
📌 If you’re facing trouble creating WhatsApp appointment reminders, read this full documentation.
Ready To Take Your Booking System To The Next Level?
Get started with WP Timetics today and automate your Appointment Reminders and Confirmations. Whether it’s reducing no-shows, enhancing communication, or making scheduling effortless, WP Timetics has everything you need to make every step of your booking system advanced.
Download WP Timetics Now and unlock the full potential of automated appointment management!