What is Buffer Time? How to Set Buffer Time with Booktics
Managing a service business is all about timing. But back-to-back bookings can mess things up.
A client might arrive early while you’re still finishing up with the previous one. You don’t get time to clean up, reset, or even take a short break.
That’s where buffer time comes in handy.
Buffer time is a small gap between two appointments that gives you breathing space, helps avoid overlaps, and keeps your day running smoothly.
In this article, we will discuss what buffer time is, why it’s helpful, and how to set buffer time with Booktics—a WordPress booking plugin designed to make scheduling more flexible and manageable.
Let’s get started.

What is buffer time?
Buffer time is the short period added before or after an appointment that isn’t visible to clients. It’s not part of the actual service duration, but it helps space out your schedule.
For example, if your session is 30 minutes long and you set a 10-minute buffer, the system will block out 40 minutes on your calendar. That way, no one can book too close to the next one
This gives you a bit of breathing room between appointments without making it obvious or awkward for clients. It also keeps your calendar clean and gives you better control over your day.
Why does buffer time matter to service provider businesses?
If you run a service-based business, every minute counts. You’re meeting one client after another, and things don’t always go as planned. And when one session runs late, the whole schedule can fall apart.
That’s where buffer time helps. Let’s see why it matters and how:
- It gives you a few minutes to reset without feeling rushed. Whether you need to clean up a space, review notes, prepare equipment, or just take a short pause, buffer time makes it easier to move from one appointment to the next without pressure.
- It also helps with unexpected things, like if a client arrives a bit late or if a session runs a little long. With a buffer in place, these moments don’t have to become a problem.
- And from a client’s perspective, this behind-the-scenes timing often goes unnoticed, but it shows up in how calm, prepared, and professional you seem during their appointment.
How does buffer time work behind the scenes?
When someone books an appointment through your site, they usually just see the length of the service, say, 45 minutes. But if you’ve set a buffer time, the system quietly blocks extra time on either side of that booking.
So if you add a 10-minute buffer before and a 15-minute buffer after, the whole time slot taken on your calendar is actually 70 minutes. But the client still only sees the original 45.
This setup doesn’t change the way bookings look to clients, but it changes how availability is shown. That extra time is removed from the calendar so that no one can book too close to the next slot. It’s like building invisible padding around your schedule.
Buffer time also works alongside your chosen time intervals. For example, if you allow bookings every 30 minutes, adding a 15-minute buffer might shift the next available slot to the hour mark instead. It all depends on how you’ve structured your availability and service durations.
📌Read also: 7 Best Booking Plugins for Educational Institutions
How to set buffer time in WordPress with Booktics: Step-by-step guide
Setting buffer time in Booktics doesn’t take long. You’ll find the settings right where you manage each service.
Here’s how to set it up:
Step 1: Install and activate the Booktics plugin
Log in to your WordPress admin area and make sure the Booktics plugin is installed and activated. If you haven’t installed it yet, you can get it here.
📦 Download Booktics for Free
If you’re running a service-based business and want a smooth, no-code way to manage appointments, this is your chance to get started. It’s free, flexible, and made to grow with your business.
Download from WordPress.orgStep 2: Add a new service or edit an existing one
In your dashboard sidebar, navigate to Booktics > Services. Click on the service you want to edit or create a new one if you’re starting fresh.
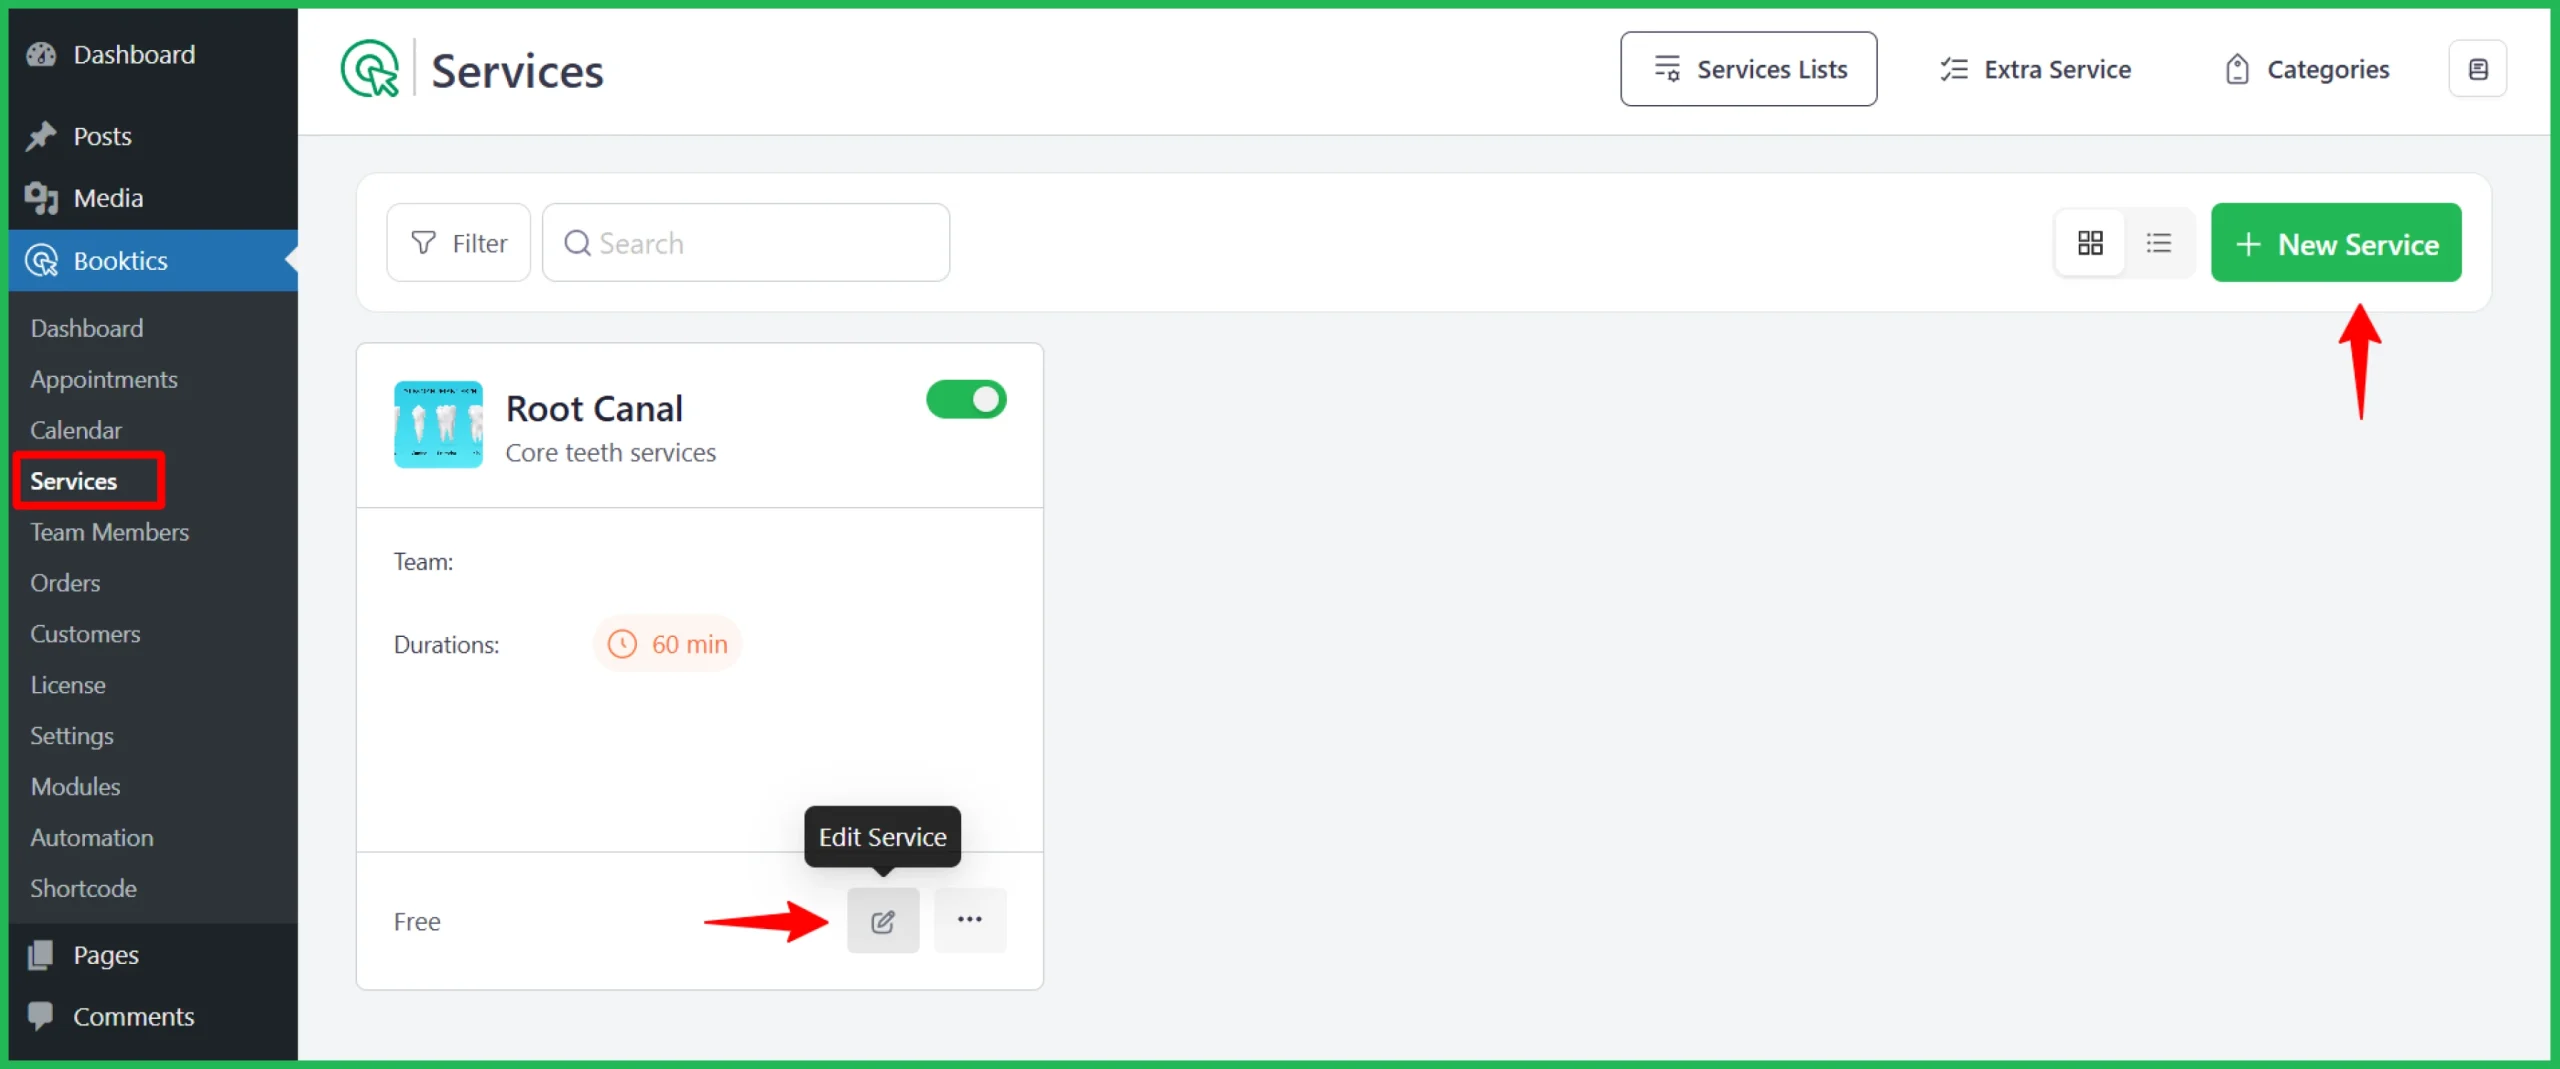
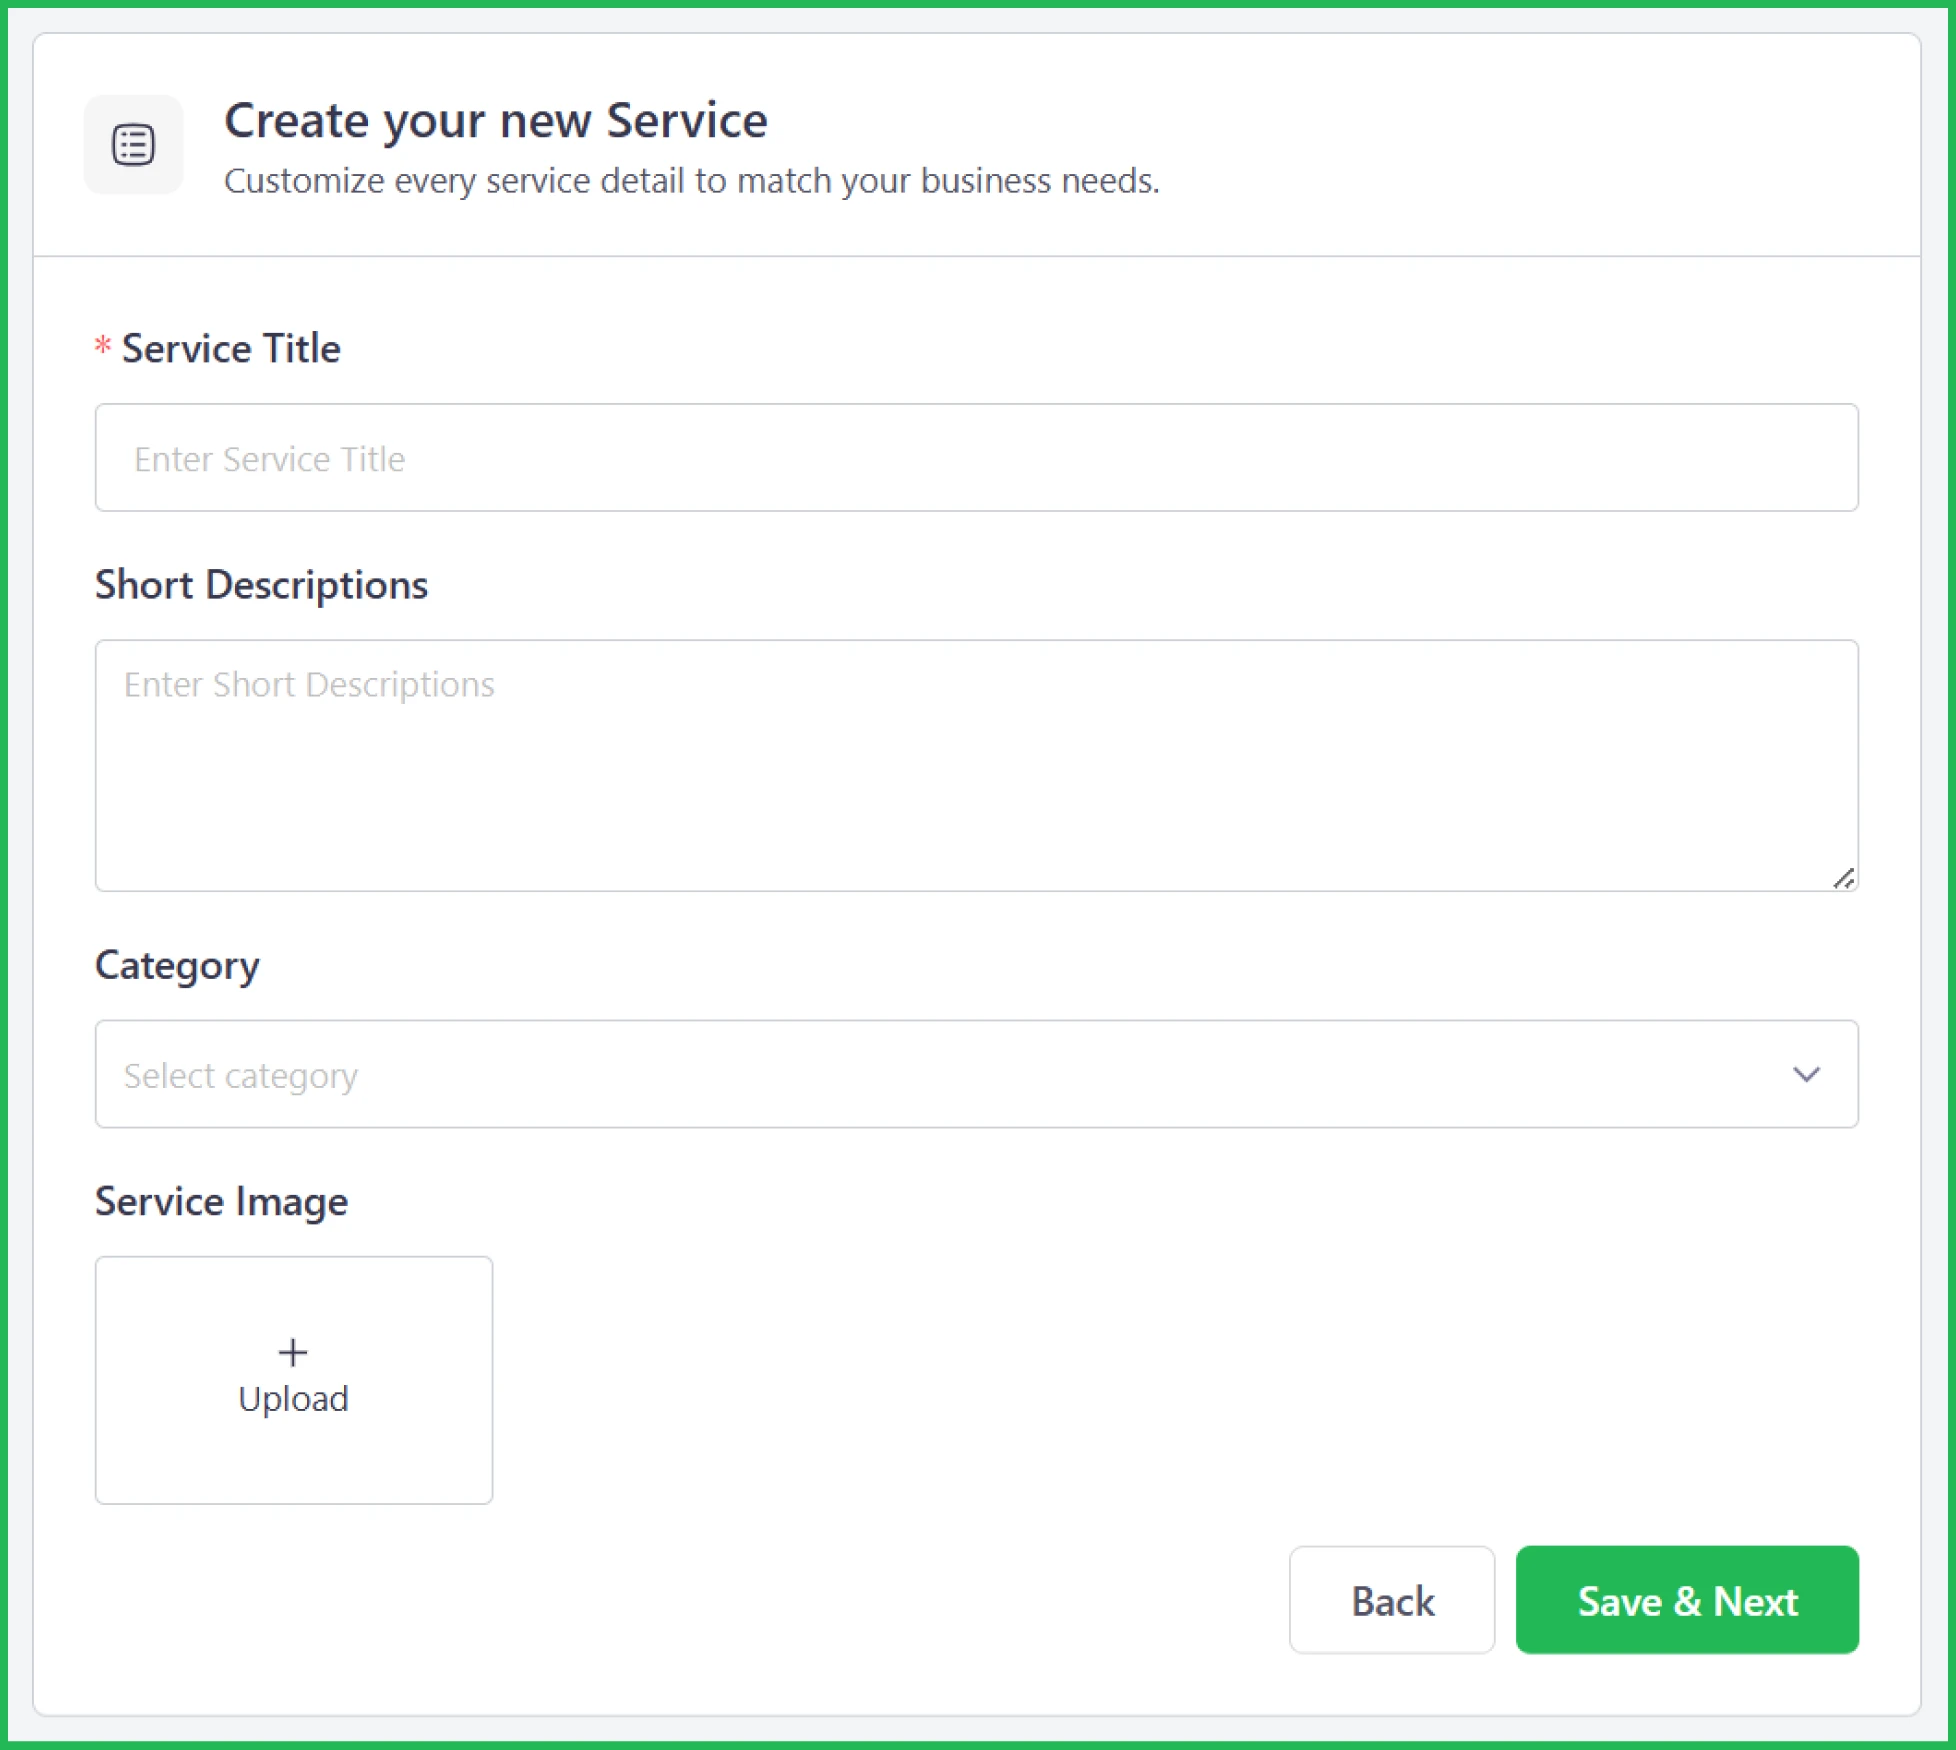
If you’re adding a new service, simply click the New Service button. You’ll see the Create Your New Service screen.
Enter a Service Title, a Short Description, choose a Category, and upload an image if needed. Then, click Save & Next to move forward.
If you’re editing an existing service, click on the Edit Service option to open its settings.
Check the official guide How to Create Service in Booktics, for full setup details
Step 3: Open the duration & price settings
Once inside the service settings, scroll to the Duration & Price section. This is where you’ll find options related to how long your service lasts, how much it costs, and when it can be booked.
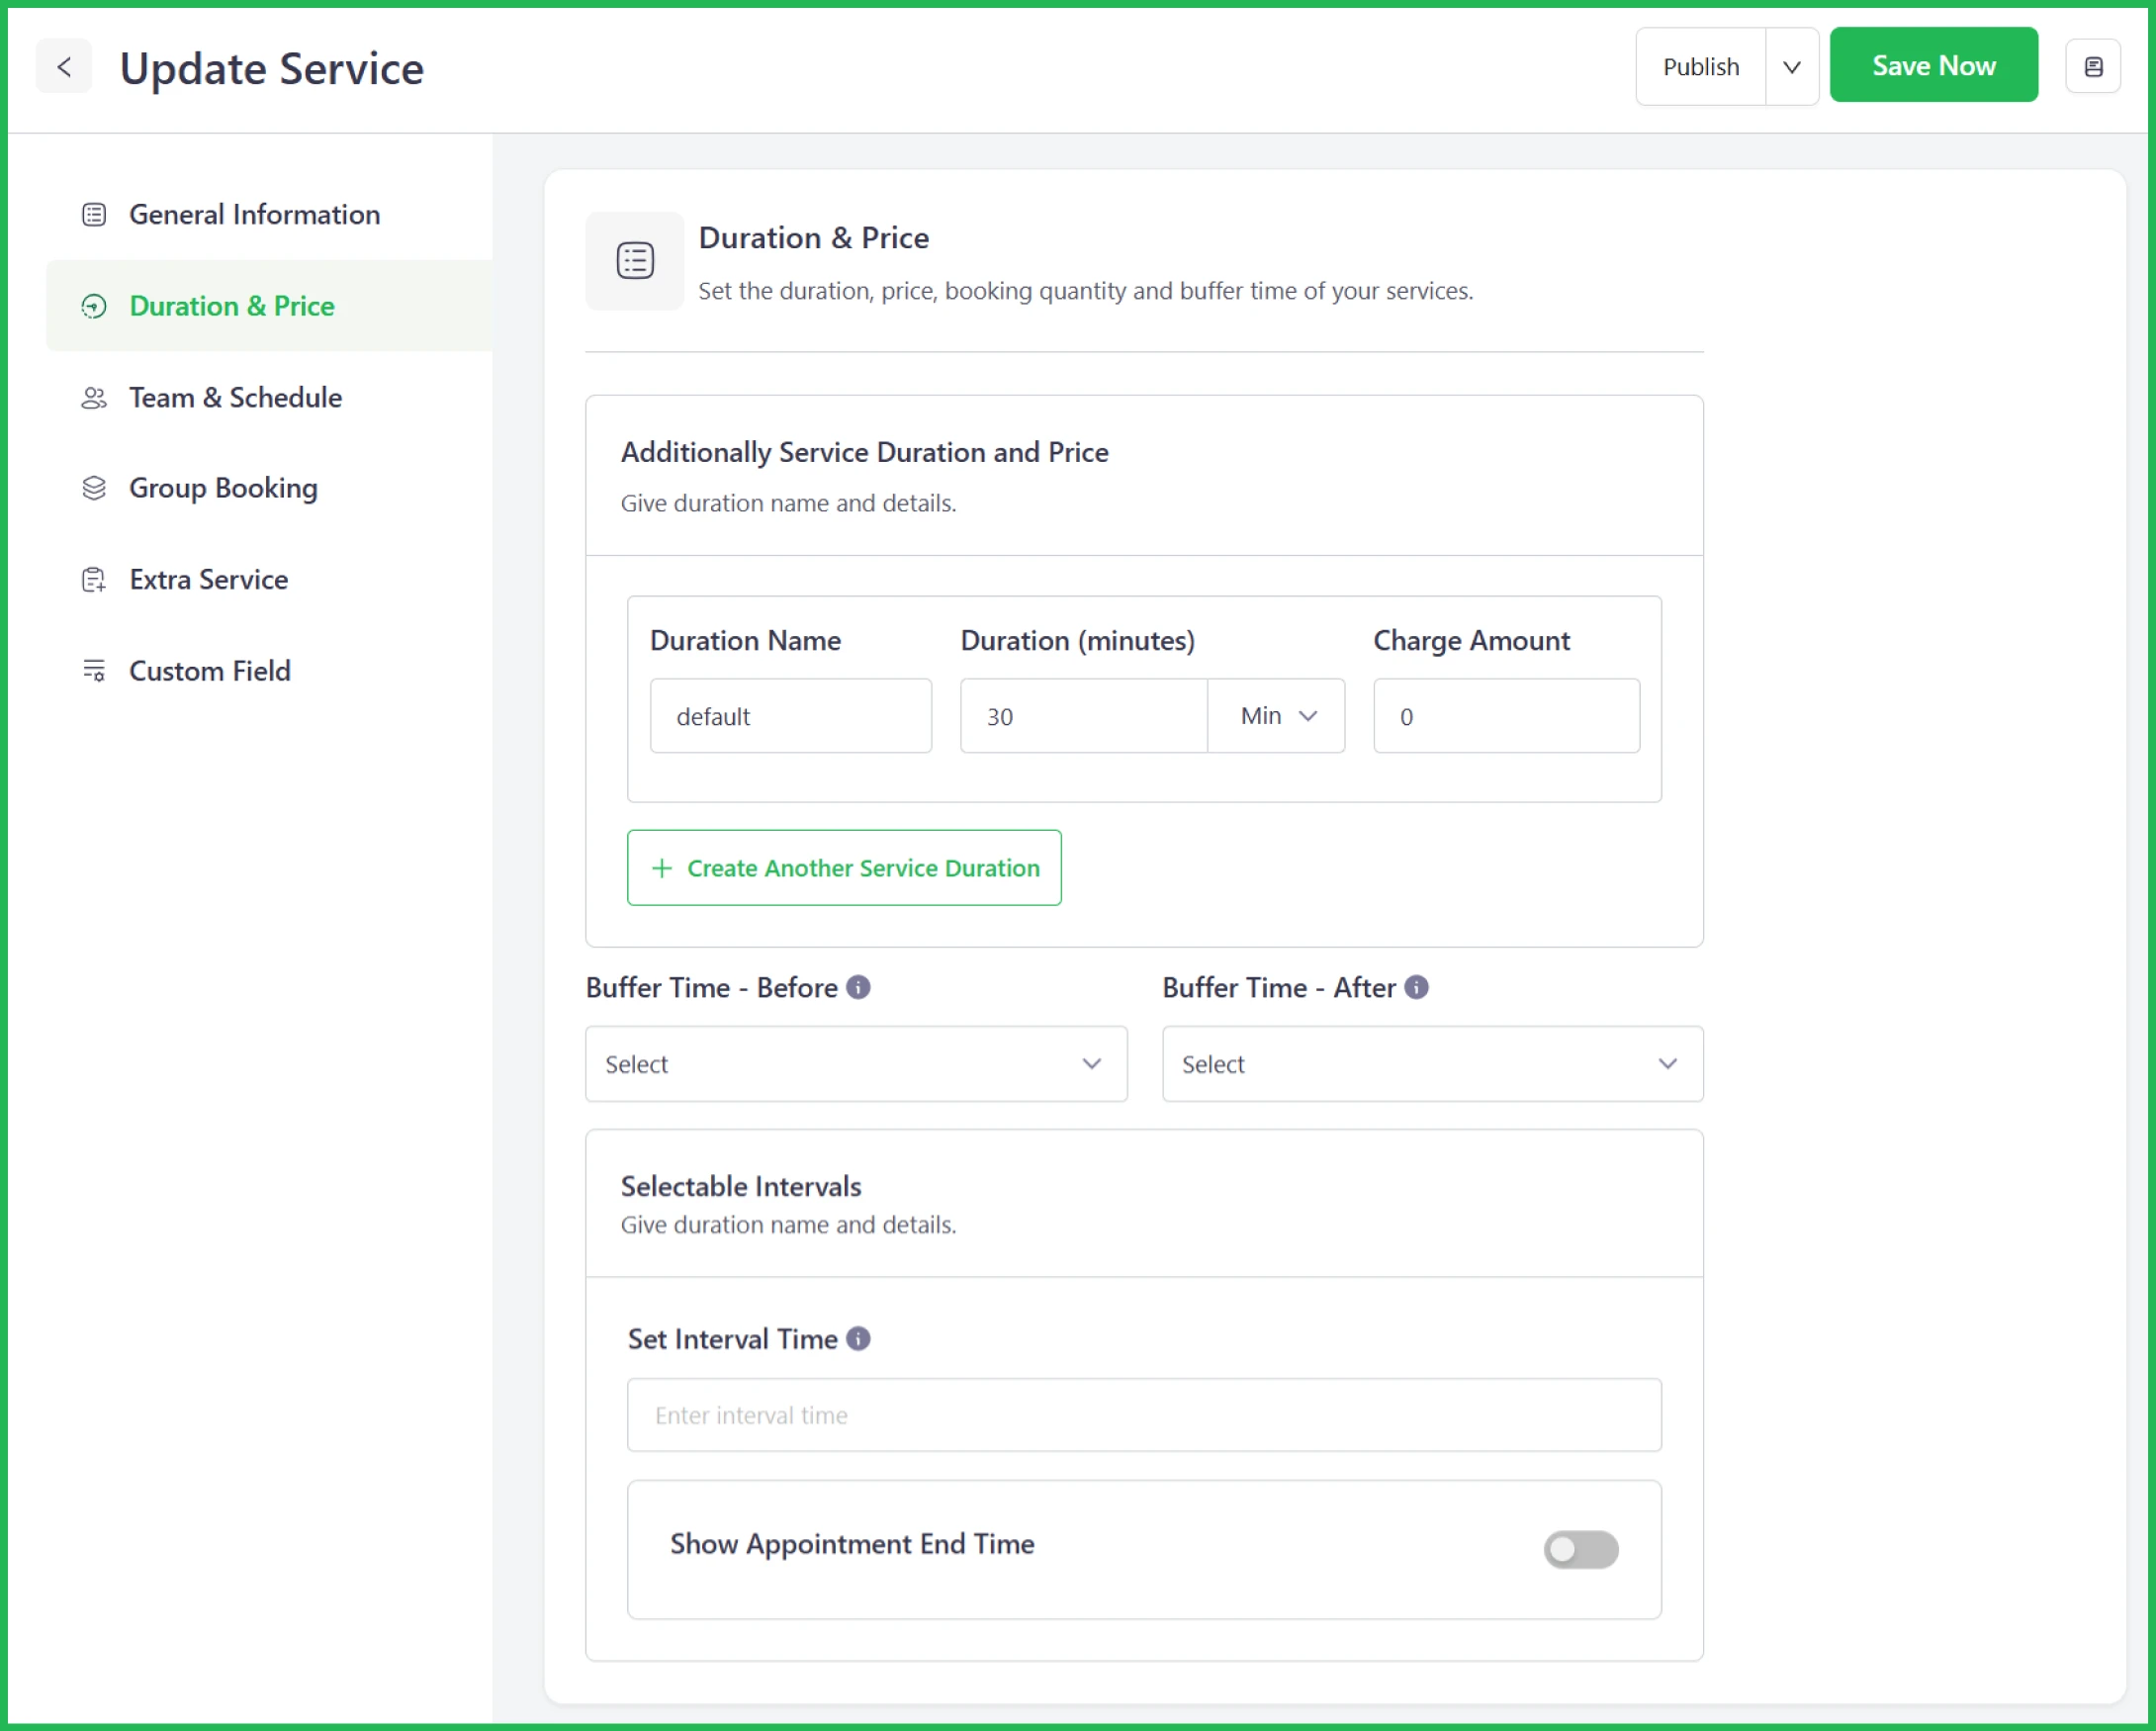
Step 4: Set buffer time before and after
Scroll down a bit, you’ll see two dropdowns:
- Buffer Time – Before: This is extra time added before the service begins (e.g. for setup or preparation).
- Buffer Time – After: This adds time after the service ends (e.g. for cleaning, notes, or cooldown).

Now, input your desired time. You can set one or both, depending on what your workflow needs.
Below the buffer settings, there’s a field to set the interval between bookings. This can help control how slots appear to clients. Leave this empty if you’re relying solely on duration and buffer time.
Note: If you set a 60-minute session with a 10-minute buffer before and a 20-minute buffer after, Booktics will automatically block 90 minutes on your calendar for that booking. However, when clients book the service, they’ll only see the 60-minute session.
Step 5: Save your changes
Click Save Now (top right corner) to apply the settings.
Booktics will now automatically calculate available time slots using your buffer rules. You won’t need to adjust anything manually; it handles it for you.
📌Read also: Why Booktics is the Best Online Booking Plugin for Service-Based Businesses
Best practices & pro tips for managing buffer time
Buffer time isn’t one-size-fits-all. What works for one business might not fit another. But a few simple guidelines can help you get the most out of it.
- Start small and adjust: If you’re not sure how much time to add, try a short buffer—maybe 5 or 10 minutes and see how your day flows. You can always increase it later based on how things actually go.
- Think about what happens between appointments: If you need to clean a room, set up equipment, or prepare notes, give yourself the time to do that. Buffer time should reflect the reality of your workflow, not just the gaps you wish you had.
- Match buffer time with appointment length: Longer services often need more space afterward. A 90-minute massage might require a longer reset than a 15-minute check-in call. Consider adjusting buffers by service type.
- Watch how it affects your availability: Adding too much buffer can limit how many slots appear on your calendar. If clients are seeing fewer options than expected, your buffer or time-step settings might be the reason.
- Test it from a client’s point of view: Sometimes, a slight change in buffer time can shift all available slots by 15 or 30 minutes. After updating your settings, do a test booking to make sure everything looks smooth and logical on the front end.
Why choose booktics for smart scheduling
Buffer time is just one part of your booking flow. But it only works well if the whole system is built to support it, and that’s where Booktics helps. It is the most powerful online booking plugin for WordPress.
Here’s why it stands out:
- Simple setup: You don’t need to dig through settings. Buffer time can be added when you create or edit a service, right where it makes sense.
- Flexible options: Booktics lets you add time before, after, or both. You decide what fits your schedule.
- Real-time calendar sync: Using Google Calendar? Booktics supports 2-way sync, so your buffer time is respected across platforms.
- Clean scheduling logic: The system hides unavailable slots based on buffer settings. No double bookings. No last-minute surprises.
- Built for service businesses: Whether you run solo or manage a team, Booktics helps you keep things organized without the usual chaos.
Want to know more? Check this guide.
Conclusion
Buffer time might seem like a small detail, but it can have a significant impact on how your day unfolds. It gives you the space to move from one appointment to the next without feeling rushed, and it helps your schedule stay balanced, even when things don’t go exactly as planned.
With Booktics, setting up buffer time is simple and flexible. You can tailor it to each service, adjust it as needed, and trust that your availability will stay organized in the background.
If you’re looking for a booking system that works with the way you actually run your business, Booktics is built for that. Ready to try it out?