How to Set Up Google Analytics 4 on WordPress (Step by Step)

If you want to understand how people use your WordPress website, Google Analytics is a helpful tool. It shows you how visitors find your site, which pages they visit, and how long they stay.
If you are new to it, learning how to add Google Analytics to a WordPress website might seem confusing. But the process is straightforward once you know the steps.
In this article, we will discuss how to set up Google Analytics 4 on WordPress step by step.
Let’s get started.
What is Google Analytics?
Google Analytics (GA) is a powerful web analytics platform developed by Google that allows website owners and marketers to track, measure, and analyze visitor behavior. It’s the latest version of Google’s web analytics platform that replaces Universal Analytics.
It provides insights into how users interact with your website, including page views, session duration, bounce rates, traffic sources, and user demographics. By understanding this data, businesses can optimize website performance, improve user experience, refine marketing strategies, and increase conversions.
GA4 is also designed to work better with privacy laws. It uses a more flexible data model that can give insights even without cookies. This helps you stay compliant with user privacy rules like GDPR and CCPA.
Why is Google Analytics Important?
Often, when you start a blog, your main goal is to get more followers and more traffic. Google Analytics is one of the ways that can help you do that.
Here are four reasons why you should consider the option to add Google Analytics to your WordPress site:
- Gain insights into your audience. See who visits your website and where your audience is located. You can also see what users are doing and how long they stay on your site. By segmenting your audience, you’ll get to develop a business growth plan in a calculated manner.
- Optimize your marketing strategies. Having insights into your market segments will make it easier for you to create the right marketing campaign decisions in order to achieve optimal results.
- Maintain quality content. As the tool allows you to see which pages and links receive most of the clicks, you can craft better content to provide to your audience’s needs and preferences.
- Identify the most active time. Posting time is one of the most important factors that can affect your website’s traffic. Once you know those peak times, you can adjust your posting time accordingly.
Prerequisites Before Install GA4 on WordPress website
Before you install GA4 on your WordPress website, make sure you have these ready. This helps you finish the setup without issues.
- A Google Account: You need a Google account to create a GA4 property. If you use Gmail or any other Google service, you can use that account.
- Access to Your WordPress Admin Panel: You should be able to log in to your WordPress dashboard. Admin access is needed to install plugins or add the tracking code.
- A Published WordPress Website: Your website should be live. You can’t connect Google Analytics to WordPress if the site is under construction or blocked from public view.
How to Create a Google Analytics 4 Account
To begin tracking your website data, you need to create a GA4 property inside your Google Analytics account. This is where all your website data will be stored.
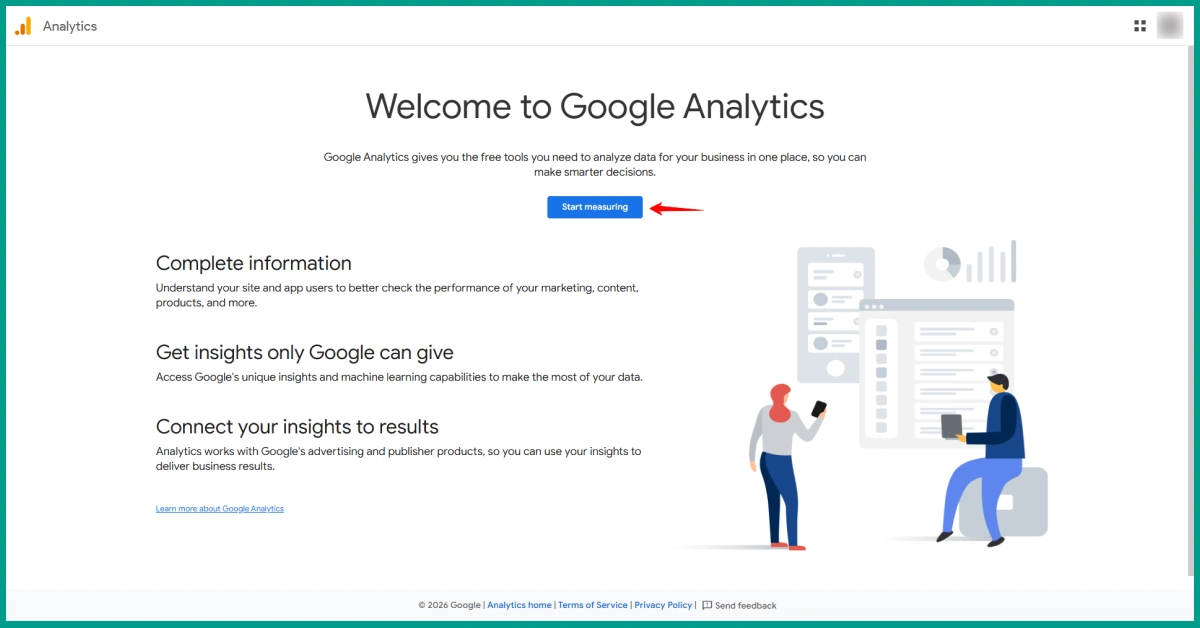
Step 1: Go to Google Analytics
Go to analytics.google.com and sign in using your Google account. Once you’re logged in, this will take you to the welcome screen, where you can begin setting up your account. Simply click Start measuring.
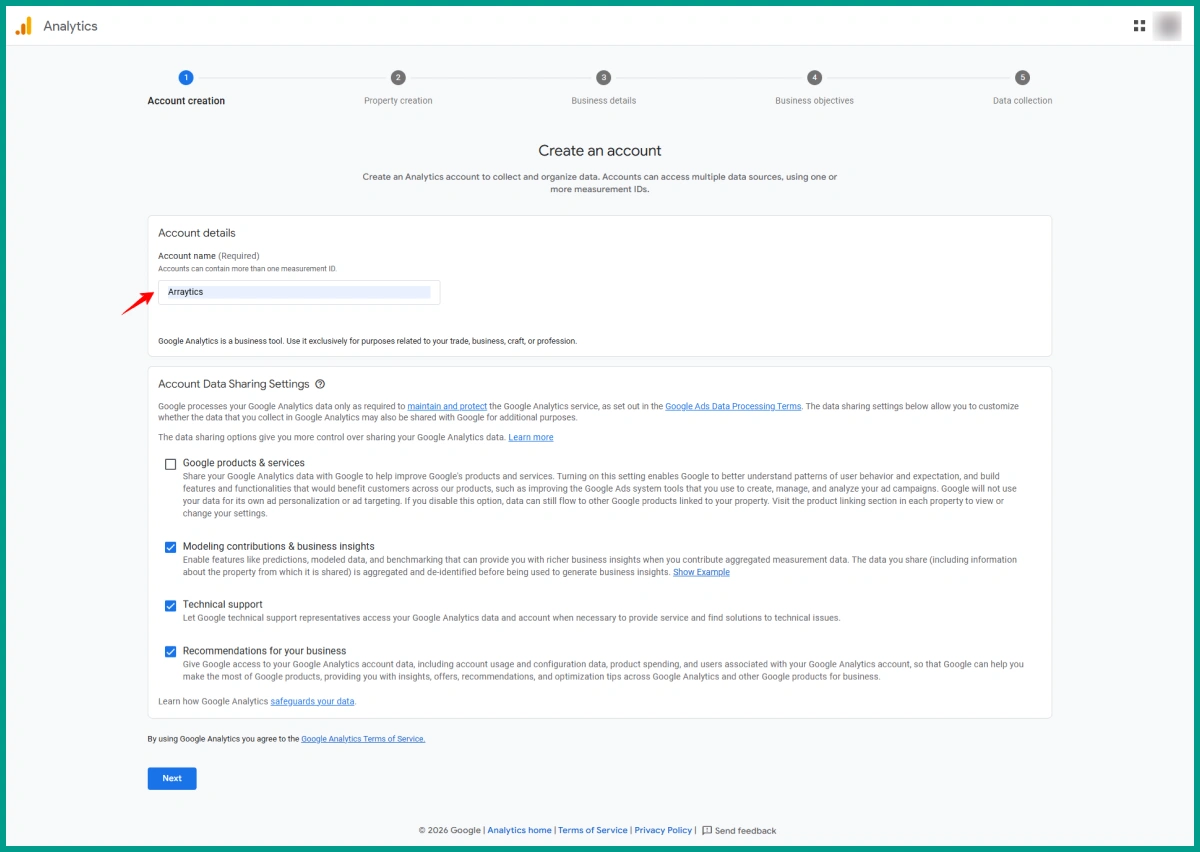
Step 2: Create an Account
On this page, you’ll need to enter an account name. This is for your reference only, so that you can name it anything. Below that, you’ll see data sharing settings. You can leave these as they are. Then click Next to move on.
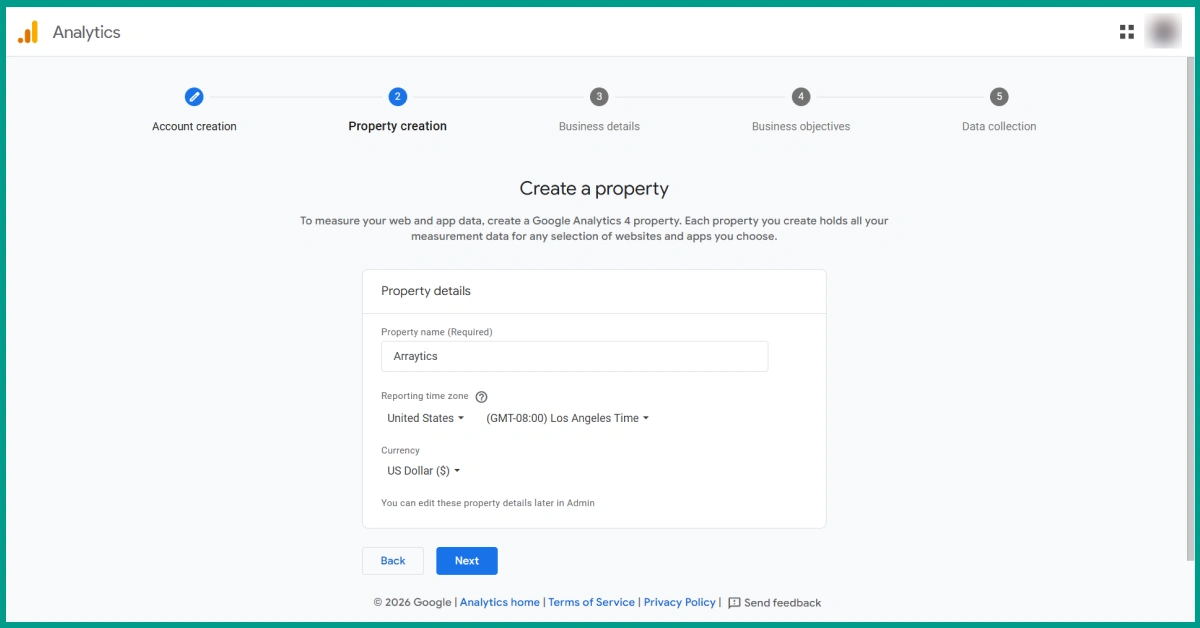
Step 3: Create a New Property
In the Admin panel, you will see three columns. Under the Property column, click Create Property.
Fill in the details:
- Property name (example: Arraytics Blog)
- Select your time zone
- Choose your currency
Click Next to continue.
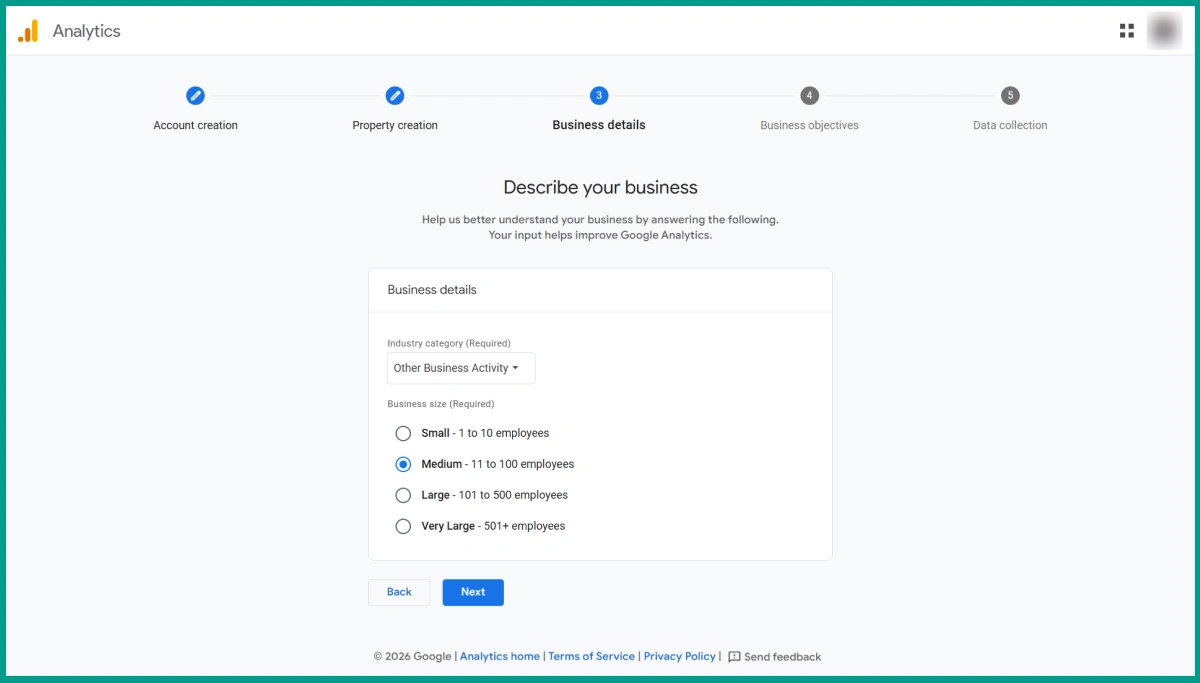
Step 4: Set Business Details
Here, you will be asked to choose your industry category and business size. These help Google tailor your experience, but they won’t affect how data is collected.
Step 5: Set Business Objectives
Next, choose how you plan to use Google Analytics. You can select one or more options depending on your needs. It’s fine to pick all of them if you’re not sure yet.
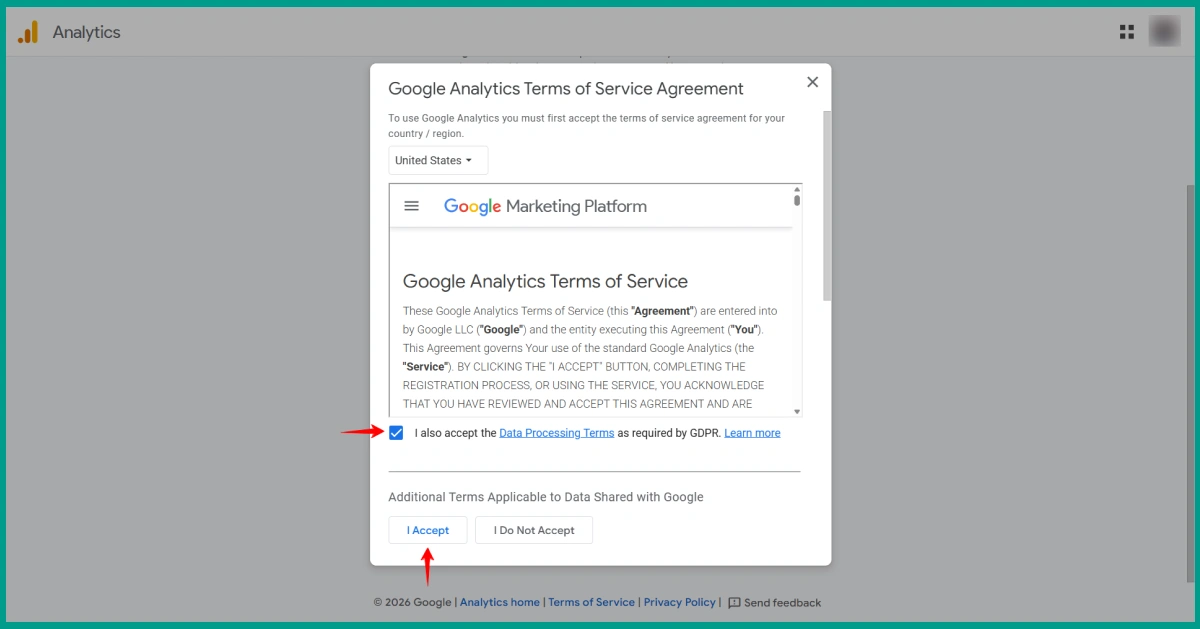
When you’re ready, click the Create button to move on.

A popup will appear with the Google Analytics Terms of Service Agreement. Click the I Accept button.
Step 6: Set Up a Data Stream
You will now choose your data source between a website and an app. Here, our data source will be a website.
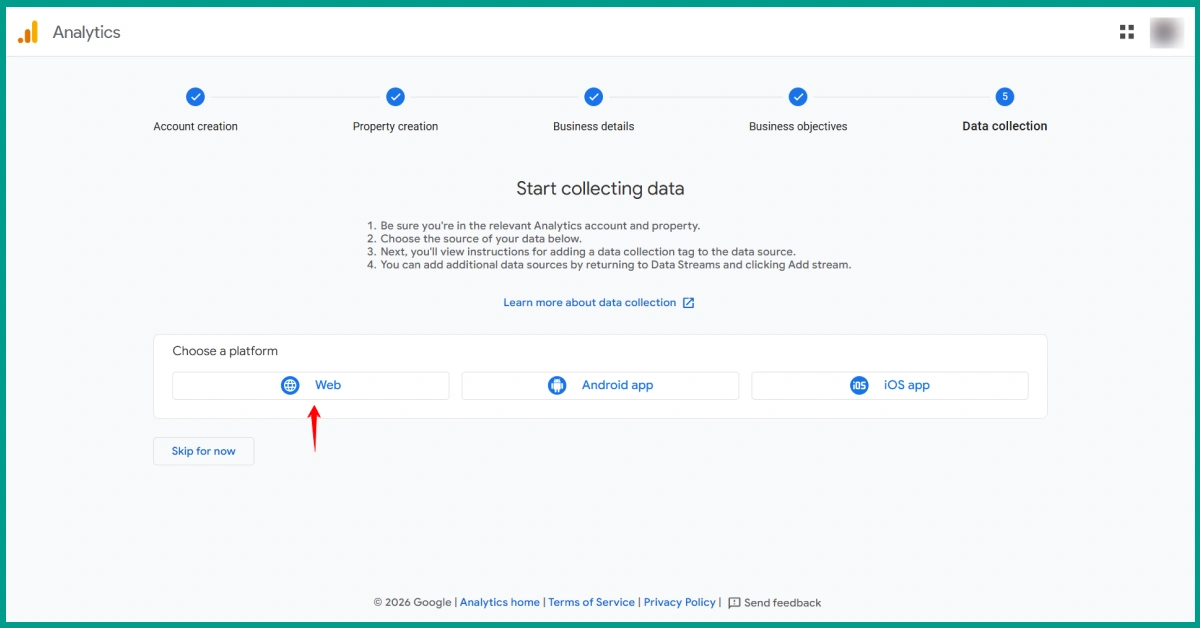
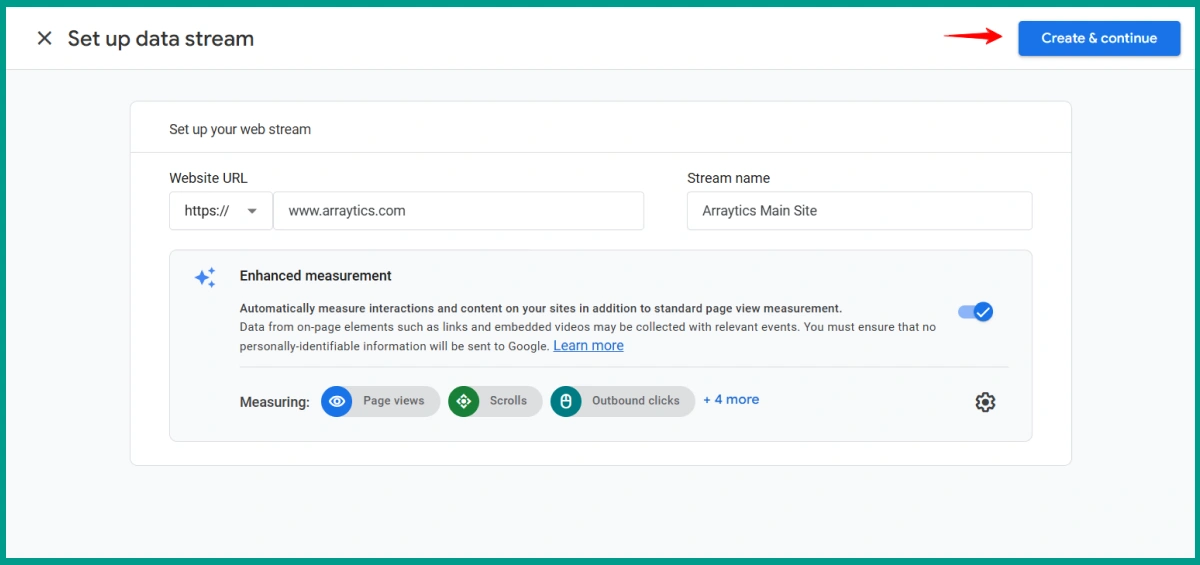
Click Web to track a website and fill in:
- Your website URL (e.g., www.arraytics.com)
- Stream name (e.g., Arraytics Main Site)
Click Create & Continue on the top right corner.
Now Google will start collecting your data. Click Next and then Continue to move on.
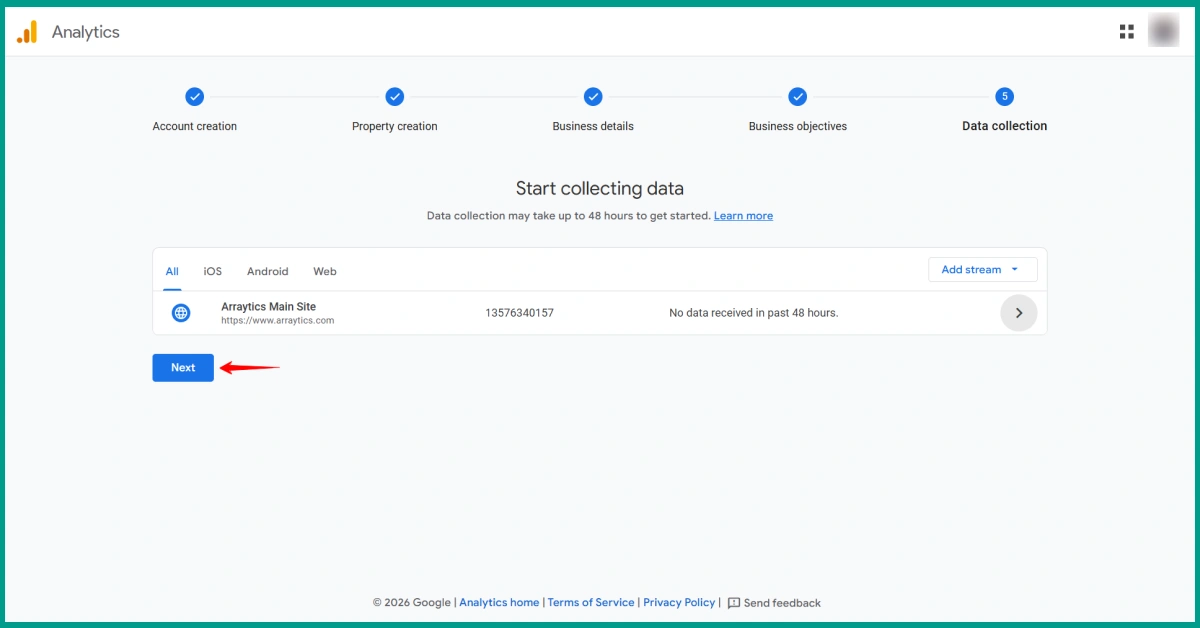
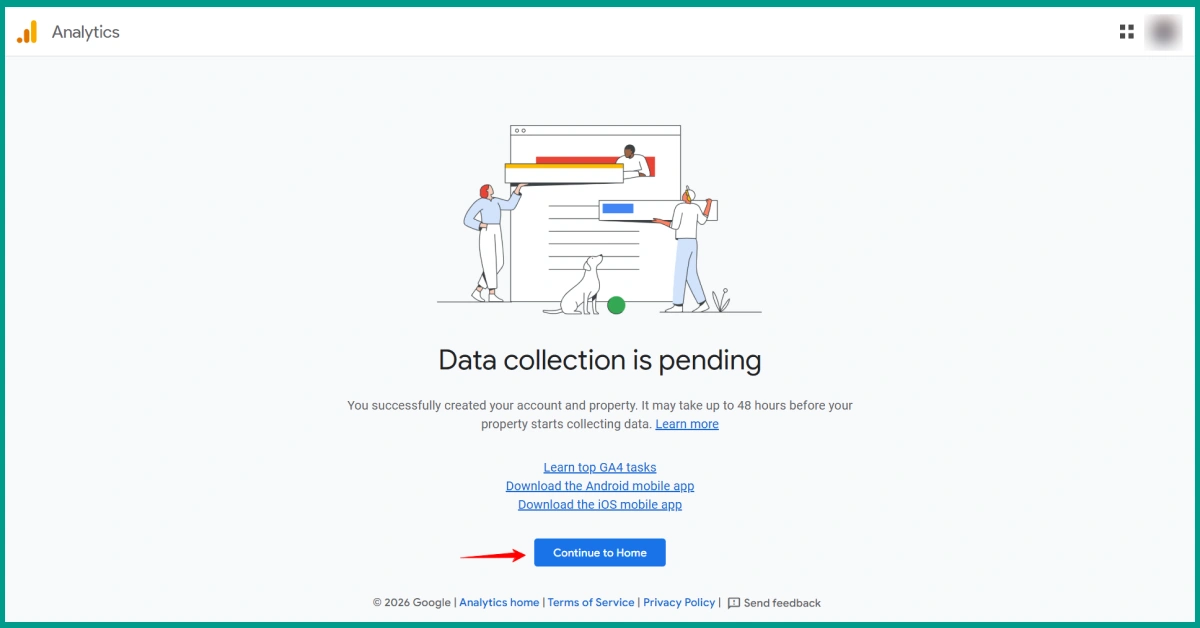
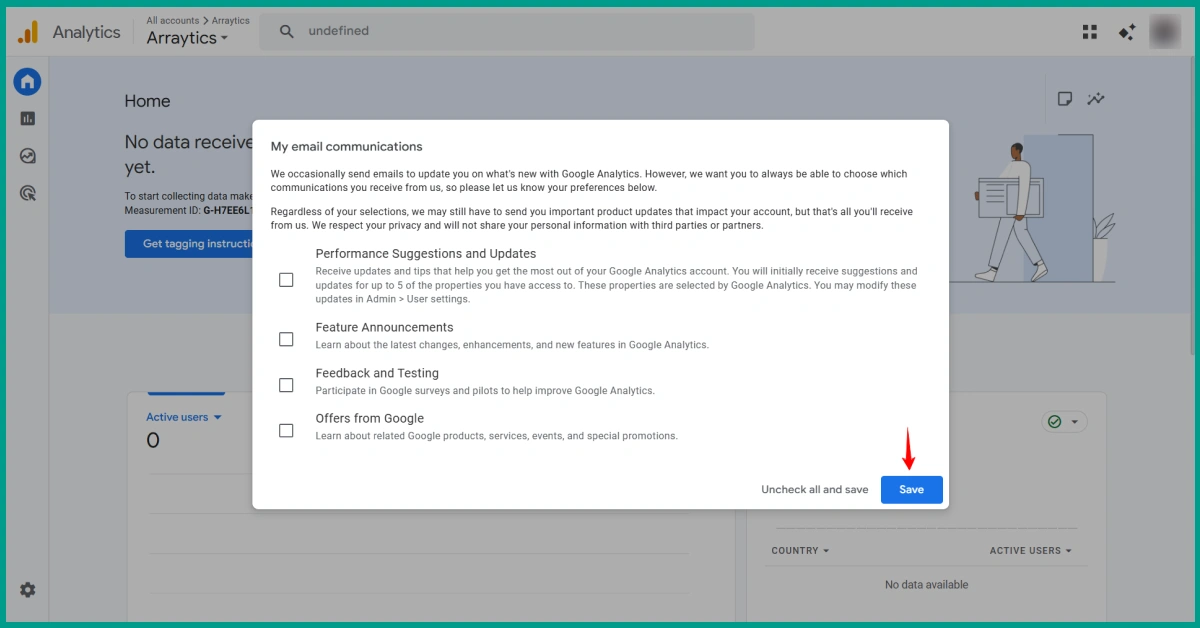
A popup will appear with a list of email preferences. Check the boxes for the types of emails you’d like to receive. Then click Save to continue.
Your Google Analytics 4 account has been created successfully.
How to Connect Google Analytics with Your Website
Now that you’ve created your GA4 property, it’s time to connect Google Analytics to WordPress.
There are three ways to do this:
- Using a plugin (best for beginners)
- Using Google Tag Manager (for more advanced setups)
Option 1: Using Site Kit by Google
Site Kit is Google’s official plugin for WordPress. It connects your site with multiple Google tools like Analytics, Search Console, AdSense, and more.
This is the easiest way for most users. You don’t need to touch any code.
How to Set Up GA4 Using Site Kit:
- From your WordPress dashboard, go to Plugins > Add New
- Search for “Site Kit by Google” and install it
- Click Activate
- Click Start Setup and sign in with your Google account
- Follow the steps to verify ownership and grant access
- When prompted, enable the Analytics module
- Site Kit will detect your GA4 property. Select it and complete the setup.
Site Kit will now automatically add the GA4 tracking code to your website. You don’t need to do anything else.
Option 1: Using Google Tag Manager (Advanced)
Another method you can use to set up Google Analytics on WordPress is Google’s Tag Manager. This is a flexible method if you want to manage multiple tracking tags.
How to Connect GA4 via Tag Manager:
- Go to tagmanager.google.com and create a new container
- Choose “Web” as the target platform
- After setup, copy the GTM container code
- Add it to your site manually or with a plugin like GTM for WordPress
- In Tag Manager, create a new GA4 Configuration tag
- Paste your Measurement ID
- Set the trigger to All Pages
- Submit and publish the container
Your GA4 setup is now handled by GTM.
Confirm GA4 is Working on Your Site
After you install GA4 on your WordPress website, it’s important to check if the tracking is working correctly. You can do this in a few simple ways.
Method 1: Use the Realtime Report in GA4
- Go to analytics.google.com
- Select your GA4 property
- In the left sidebar, click Reports > Realtime
- Open your website in another tab or on your phone
If GA4 is tracking correctly, you’ll see at least one active user in the Realtime report. This means your setup is working.
Method 3: Use Site Kit’s Built-In Check
If you used Site Kit to connect to Google Analytics, it has a built-in status check.
- In your WordPress dashboard, go to Site Kit > Analytics
- Look for a green check mark or a message that says tracking is active
This confirms the GA4 tag is added correctly to your website.
What to Do If Tracking Isn’t Working
If you don’t see any data in Google Analytics after setup, try these quick checks:
- Make sure you used the correct Measurement ID
- Clear your website cache and refresh the page
- Disable and re-enable the plugin or re-save the settings
- Check that your theme includes the closing
</head>tag if you added the code manually
It may take a few minutes for new data to appear, so wait briefly before making further changes.
FAQs on How to Add Google Analytics to WordPress
1. Can I still use Universal Analytics with GA4?
No. Universal Analytics stopped processing new data in July 2023. You can still view past reports for a limited time, but all new tracking must use GA4.
2. Do I need to remove my old Universal Analytics code?
Yes, if it’s still active. Keeping both UA and GA4 codes can lead to duplicate tracking and messy reports. If you’re switching to GA4, remove the old tracking code or disable the UA tag in your plugin or Tag Manager.
3. What is the easiest way to add Google Analytics 4 to WordPress?
Using the Site Kit plugin is the easiest way for most users. It connects your site to your Google account and handles the tracking setup without needing any code.
4. Is Google Analytics 4 free?
Yes. GA4 is free to use for all websites, just like Universal Analytics was. Google also offers a paid version called GA4 360, but most websites do not need it.
5. Can I use GA4 and Google Tag Manager together?
Yes. Google Tag Manager gives you more control over tracking tags, events, and advanced setup. You can use it to manage your GA4 tags instead of placing them directly in WordPress.
6. Do I need a plugin to set up GA4 in WordPress?
No. You can add the GA4 tracking code manually, but using a plugin like Site Kit or MonsterInsights makes the process easier and reduces the risk of errors.
7. How long does it take for GA4 to show data?
Most of the time, GA4 will start showing Real-time data within minutes. Complete reports might take a few hours. If you see no data after 24 hours, check for setup issues.
Ready to set up Google Analytics 4?
So, this was all about how to set up Google Analytics 4.
Google Analytics 4 helps you understand how people use your website. Once it’s set up, it starts collecting useful data automatically. Whether you use a plugin or add the code yourself, the main goal is to make sure tracking is working and the data is accurate.
As your site grows, you can explore more features in GA4, like custom events or connecting with other Google tools. But for now, having the basic setup in place is a solid start.
Make sure to check your reports regularly and use what you learn to make small improvements over time.