How to Build a Booking Website for Small Businesses
If you run a service-based business, bookings are part of your daily work. Clients call, send messages, or ask on social media. You note things down, confirm times, and follow up again. This works at the start, but it gets messy as your business grows.
Whether you’re a hairdresser, consultant, personal trainer, or therapist, having a booking website can make a big difference. It helps you manage your schedule, reduce missed appointments, and offer clients the convenience of booking anytime, even outside of business hours.
In this guide, you’ll learn how to build a booking website for small businesses using WordPress. You won’t need to know how to code or hire a developer. All you need is a domain name, hosting, and a booking plugin that fits your needs.
What is a booking website?
A booking website is a site that lets customers schedule appointments or services online. Instead of calling, texting, or emailing to confirm availability, clients can visit your site, choose a time that works for them, and book instantly.
At its core, a booking website works as an online appointment system. It shows real availability and prevents double bookings. Instead of collecting requests and replying later, the system confirms appointments right away. This is why many small businesses now use a WordPress booking system instead of manual methods.
For example, a salon can allow clients to book hair or spa services. A consultant can let clients book a time slot for a call. A clinic can manage appointments based on working hours. In all cases, the booking website acts as a simple small business booking software that runs on your own site.
Why your small business needs an online booking system
Managing bookings by phone or messages takes time. You answer the same questions, confirm availability, and follow up when clients do not reply. Over time, this slows you down and increases the chance of mistakes.
An online scheduling system for small businesses solves this. Clients can book anytime, even outside working hours. They see available time slots and confirm on their own. This reduces missed calls and cuts down on back-and-forth communication.
A booking system also helps you stay organized. Every appointment is saved in one place. You can view upcoming bookings, track services, and manage schedules without switching tools. This is where a proper WordPress booking system works better than basic forms.
There is also a trust factor. When visitors see a clean booking page, your business feels more reliable. A clear booking website shows that you respect your clients’ time. It also makes it easier for new customers to take the first step.
Read also:
Best WordPress Booking Plugins — compare top booking and appointment plugins for WordPress, including free and premium options.
What you need before you start
Before you set up your appointment booking website, there are a few essentials you’ll need in place. Each one plays an important role in making sure your booking system works smoothly and looks professional.
A domain name and hosting
Your domain name is your website address (like yourbusiness.com), and hosting is the service that stores your website files online. Choose a reliable hosting provider that supports WordPress. Many offer one-click WordPress installation, which makes setup faster.
A WordPress installation
WordPress is the most popular website platform for small businesses, and it’s ideal for booking websites. It’s flexible, user-friendly, and gives you complete control over your content and design.
Once you’ve installed WordPress, you can log in to your dashboard and start customizing your site.
A responsive theme
You also need a responsive theme. This means your site looks good on both desktop and mobile. Choose a theme that is clean, fast, and easy to customize. Avoid themes packed with features you do not need. A simple layout works best for an appointment booking website.
Choose the right booking plugin
Finally, you need a booking plugin. This is the core of your booking system. Booktics is a WordPress booking plugin designed for small service-based businesses. It lets you accept appointments, show your availability, manage team members, and send confirmation emails all from your WordPress dashboard.
How to create a booking website: Step-by-step
In this section, we break the process down into clear, manageable steps to help you create a functional booking website that fits your small business needs from setup to launch.
Step 1: Set up your website with WordPress
WordPress is a practical choice for a booking website. It is flexible, easy to manage, and works well with booking plugins.
Start by choosing a simple and fast theme. This matters because many clients book from their phones.
Next, create the basic pages your site needs. At a minimum, you should have a Home page, a Services page, a Booking page, and a Contact page.
The Home page explains what you offer. The Services page lists your services with short descriptions. The Booking page is where your appointment system will appear. The Contact page gives clients another way to reach you if needed.
Step 3: Install and set up Booktics
Once your WordPress site is ready, it’s time to add the booking functionality using the Booktics plugin. This plugin was built for small service-based businesses and includes everything you need to manage appointments, availability, and notifications, all from your WordPress dashboard.
Installing Booktics from WordPress
You can install Booktics in just a few clicks:
- Log in to your WordPress admin dashboard
- Go to Plugins > Add New
- Search for “Booktics”
- Click Install Now, then Activate
Alternatively, if you’ve downloaded the plugin as a .zip file:
- Go to Plugins > Add New > Upload Plugin
- Upload the file, then click Install Now
- Click Activate

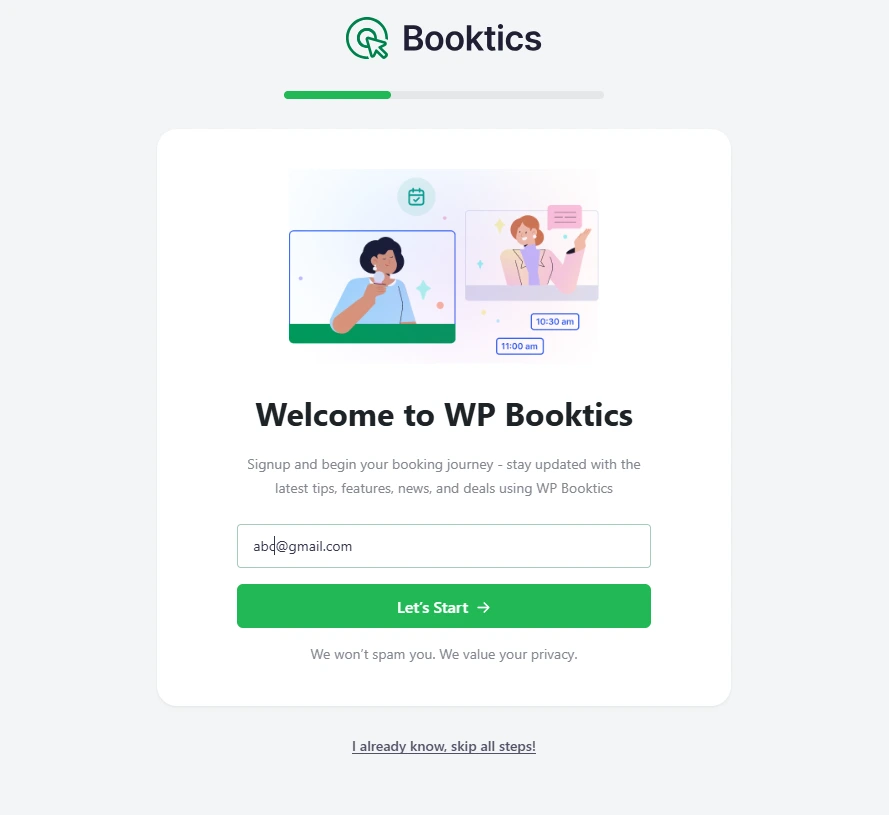
Once activated, Booktics will launch a setup wizard to guide you through the first steps.
Quick setup overview
The setup process starts with entering your business email. This is used to connect your account and enable syncing features.
Next, you’ll complete your business profile by entering:
- Business name
- Type of service (e.g., salon, clinic, consultant)
- Time zone

You’ll then set your working hours, choose which days you’re available, and what your daily hours are. Booktics will use this information to show your availability on the booking form.
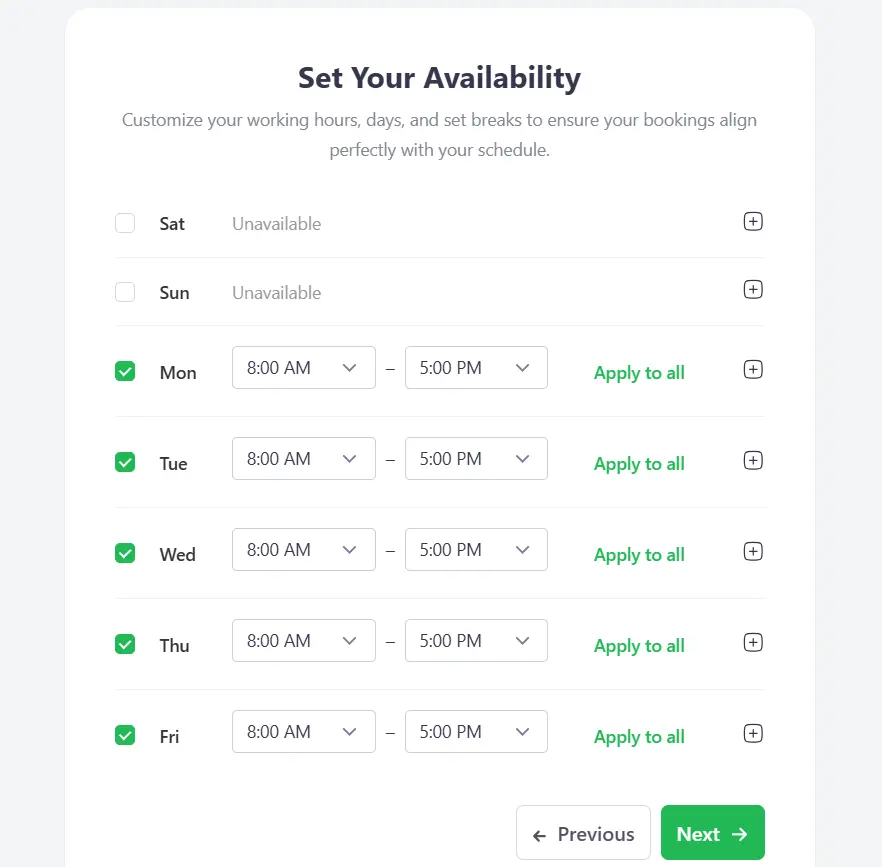
Once these steps are done, your booking system is already active, and you can start adding services.
Step 4: Add your services and team members
With your basic setup complete, the next step is to add the services you offer and, if needed, the team members who will be handling those appointments. Booktics makes this easy to manage right from the WordPress dashboard.
Add services
To add a new service in Booktics:
- Go to Booktics > Services in your dashboard
- Click Add Service
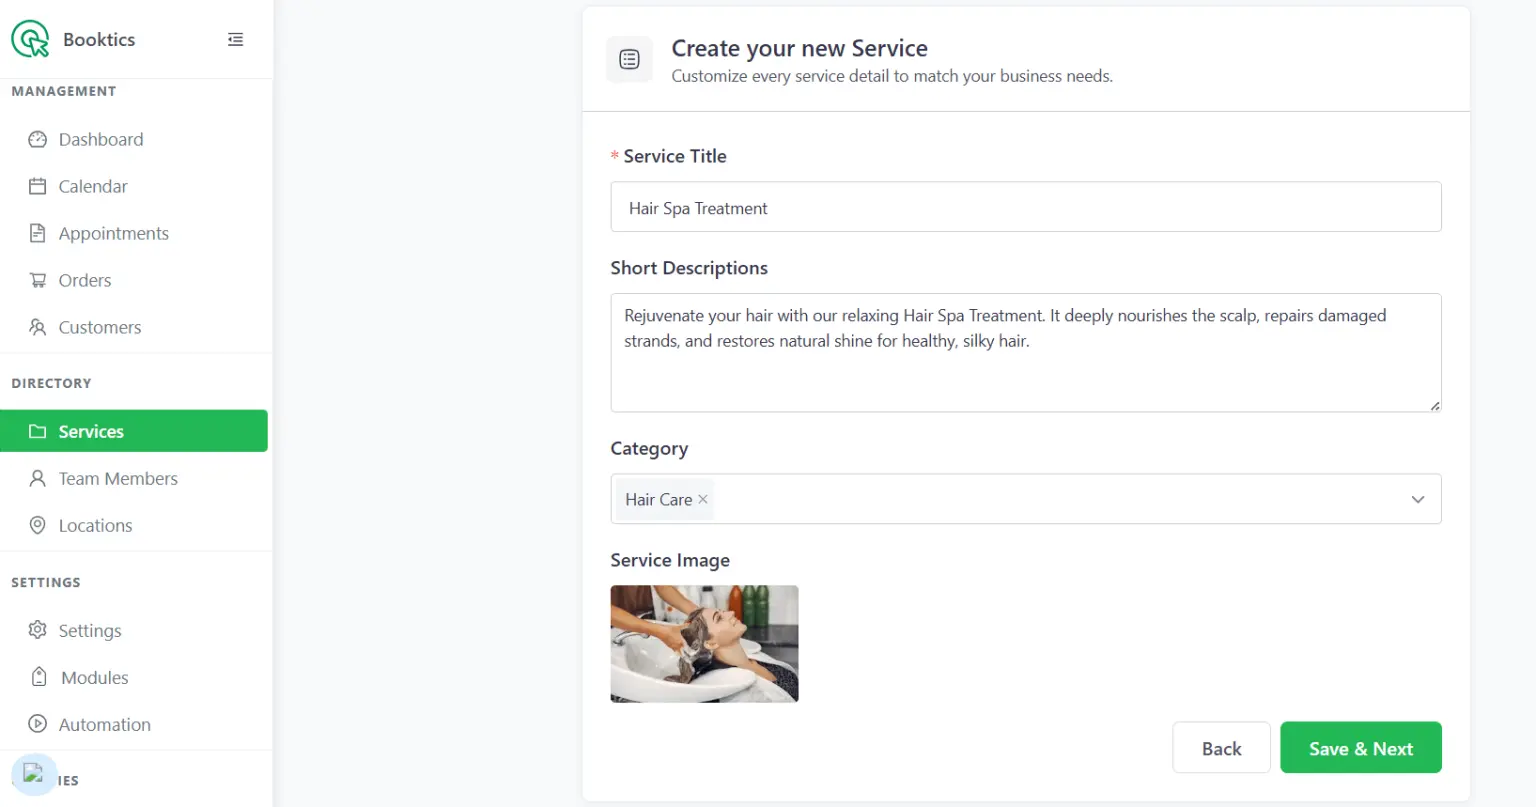
You’ll be prompted to enter the following:
- Title – The name of the service (e.g., “Haircut,” “Consultation,” “Massage”)
- Description – A short explanation of the service
- Image – Upload a photo to make your booking page more visual
- Category – Group similar services (e.g., “Hair”, “Wellness”)
- Duration – Choose how long the service takes
- Status – Set it to Active to make the service visible on the booking form
You can add multiple services, each with its own time length and details. This makes it simple for clients to choose exactly what they need.
Add team members
If you work with a team, Booktics allows you to assign services to different people and manage their individual schedules.
To add a team member:
- Go to Booktics > Team Members
- Click Add Team Member

- Fill in their details:
- First name
- Last name
- Email address
- Phone number
- Click Invite a Team

The team member will be added to your list, and you’ll be able to manage their availability just like your own. You can also assign specific services to specific team members depending on their role or specialty.
Step 5: Configure your booking availability
After adding services and team members, you need to fine-tune when clients can book. This step makes sure your online appointment system reflects your real working hours.
Manage time slots
You can set how long appointments should be by default. This helps keep your calendar consistent and avoids gaps between bookings.
To set appointment duration:
- Go to Booktics > Settings > Schedule
- Under Schedule Settings, set your preferred default time (e.g., 30 minutes)
- Click Save Changes

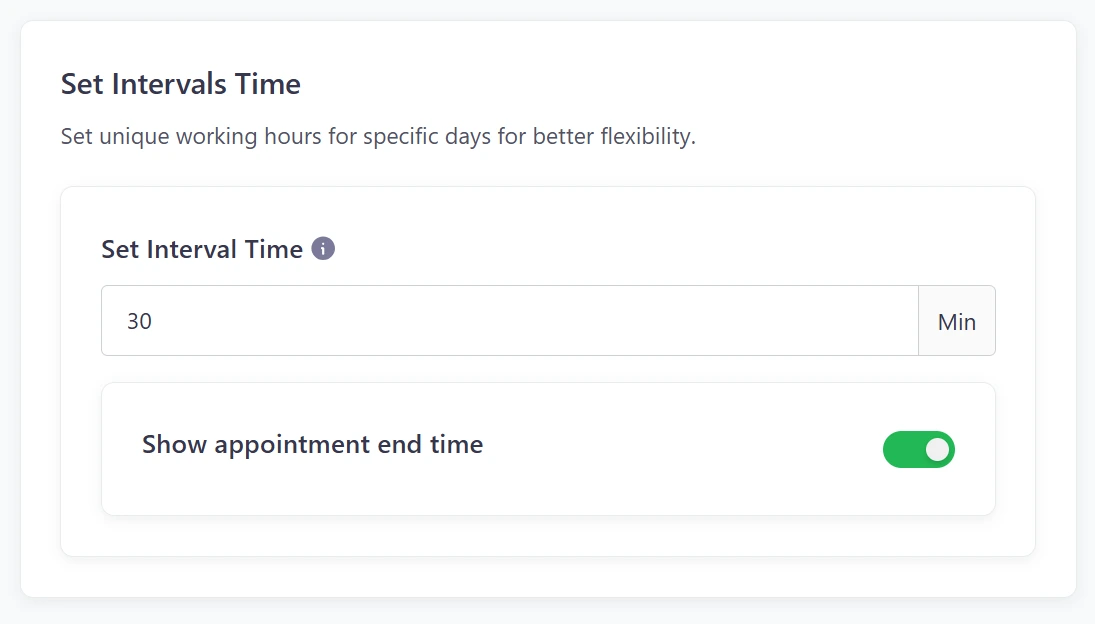
You can also define an interval time between appointments useful if you need a break between clients.
To set intervals:
- Still in the Schedule section, scroll to Set Intervals Time
- Choose how long each slot should be and whether to show the appointment end time
- Customize this for specific days if needed
Advanced scheduling
In real life, schedules change. Booktics gives you a few options to adjust your calendar without having to change your whole setup.
Block Holidays and Unavailable Days:
- Go to Booktics > Settings > Schedule
- Scroll down to Holidays & Days Off
- Add one or more dates you want to block (e.g., holidays, personal leave)
- Save your changes

Step 6: Managing appointments with Booktics
After your booking system is live, you’ll start receiving appointments directly through your site. Booktics makes it easy to keep track of each booking, view customer details, and make changes when needed, all from your WordPress dashboard.
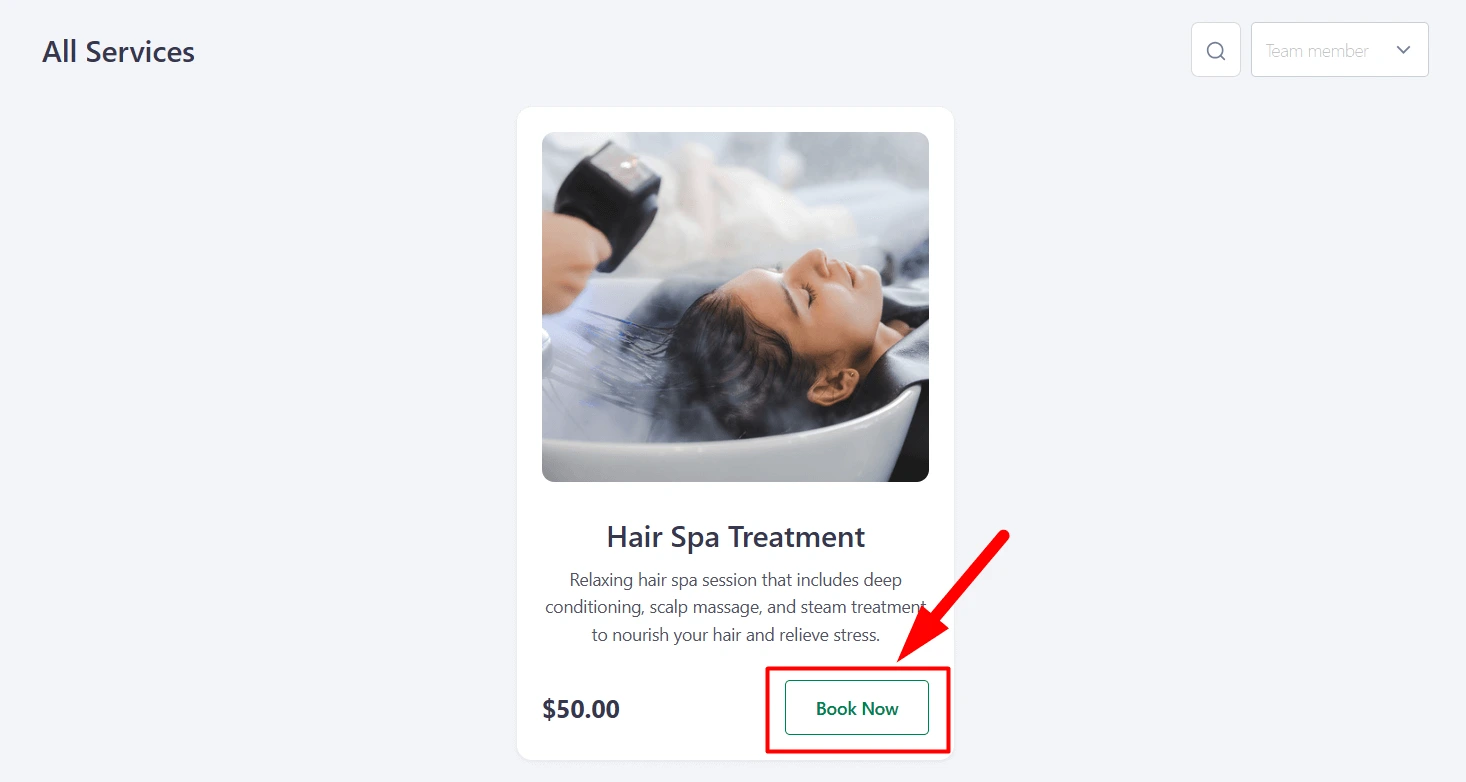
Go to the Service Page and click the Book Now button.
Select a Team Member – the calendar will open.
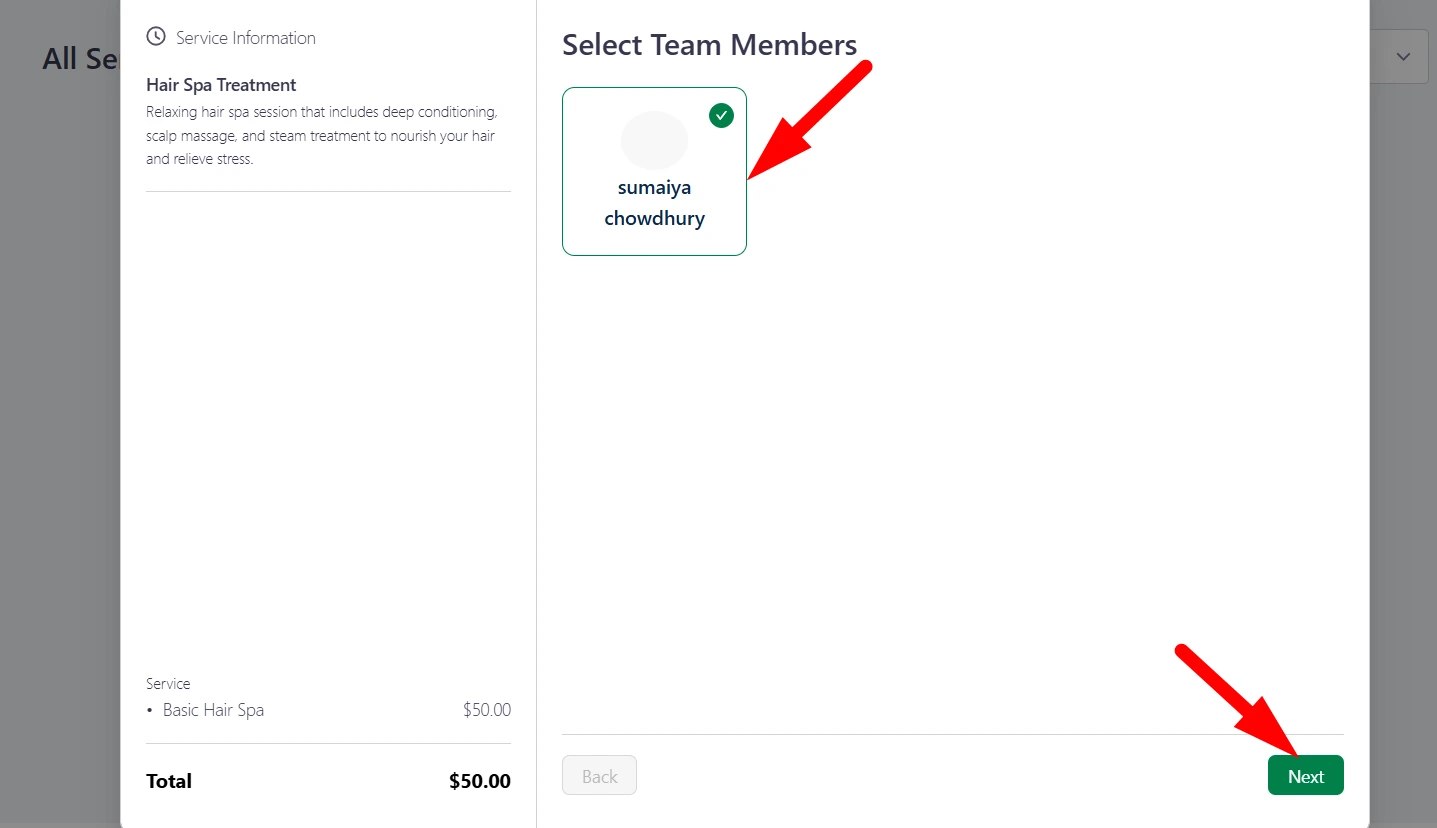
Choose a Date and Time.

The service will be added to the cart automatically. Click the Next button.
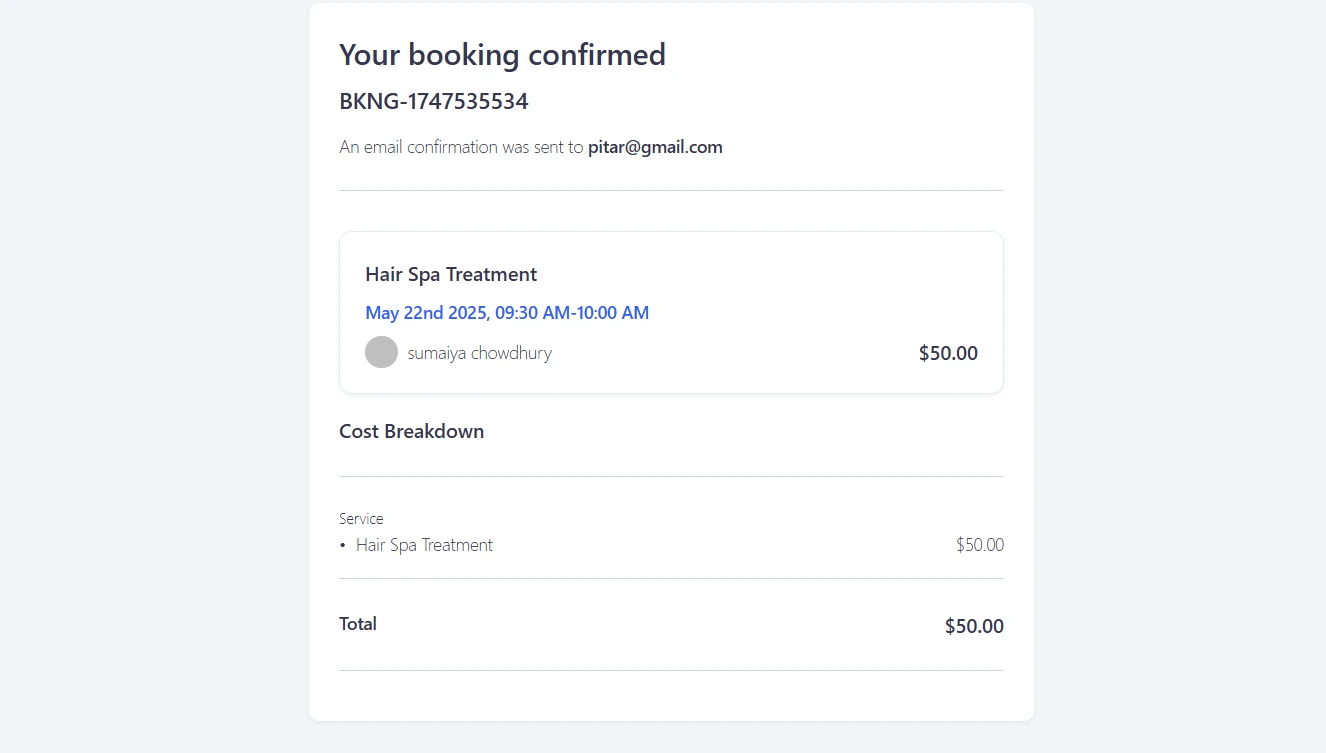
Choose a Payment Method and enter your Name and Email. Click the Appointment button to confirm your booking.

The booking is successfully confirmed.
Once confirmed, you can view your appointments under the Appointment menu. From there, you can edit, update the status, or manage bookings as needed.
View upcoming appointments
To see all current and past bookings:
- Go to Booktics > Appointments
- Here, you’ll find a list of appointments with details like customer name, service booked, time, and payment status.
This section helps you stay organized and know what’s coming up in your day or week.
Modify or cancel appointments
If a client needs to reschedule or if you want to make a manual adjustment:
- Click on an appointment entry
- You can update the time, change the assigned team member, or cancel the booking.
- Changes are automatically updated in the system, and notifications are sent if you’ve enabled email alerts.
This helps reduce confusion or double-bookings, especially if you manage multiple services or staff.
Read also:
How to Reduce No-Shows for Appointments — practical tips to lower appointment no-shows and improve client attendance rates.
Launch and promote your Booking website
Once everything is set up, it is time to make your booking website live. Before sharing it, do a quick test. Book an appointment yourself, check email notifications, and confirm that time slots work as expected. This helps catch small issues early.
After testing, start promoting your booking page. Add a clear Book Now link to your main menu so visitors can find it easily. You can also place booking buttons on your homepage and service pages. These small changes make a big difference.
Let your existing clients know about the new system. Share the booking link through email, WhatsApp, or social media. Explain that they can now book appointments anytime without calling.
Common mistakes small businesses should avoid
Setting up an appointment booking website is a smart move, but a few missteps can limit its effectiveness. Below are some common mistakes small business owners make when launching their booking system and how to avoid them.
- Not keeping availability updated: If your calendar isn’t accurate, clients may book times you’re not actually available. This leads to confusion and missed appointments. Use Booktics to update working hours, block holidays, or adjust availability when team members are unavailable.
- Forgetting to test the booking flow: Always test your booking system before launch. Make sure services show correctly, time slots are accurate, emails are sent, and payments work. Catching issues early helps avoid problems once real clients start booking.
- Hiding the booking link: If people can’t find your booking page, they won’t use it. Make sure your “Book Now” button is easy to spot on your homepage, menu, and service pages. Include links in social media profiles and other key places.
- Not collecting the right information: Asking for too much during booking can cause drop-offs. On the other hand, asking too little may leave you unprepared. With Booktics, keep it simple, collect only what you need, like name, email, and phone number.
- Ignoring mobile users: Many clients book appointments on their phones. If your site isn’t mobile-friendly, they may give up before completing a booking.
Read also:
Best WordPress Appointment Booking Plugins — explore top booking tools for appointments in WordPress, both free and pro options.
Conclusion
Building a booking website for your small business is a practical way to reduce manual scheduling, stay organized, and offer your clients a simple way to book online.
With WordPress and the Booktics plugin, you can create an appointment booking website that fits your workflow without needing advanced technical skills.
From adding your services and setting availability to managing team schedules and sending confirmations, Booktics covers everything you need in a small business booking system.
If you’re ready to take appointments through your site, Booktics makes it easy to get started and keep everything in one place.
FAQs
Can I accept payments with Booktics?
Yes. Booktics supports online payments through Stripe and PayPal. You can enable one or both options during setup, allowing clients to pay when they book.
Does Booktics support multiple team members?
Yes. You can add multiple team members and assign services to each one. Clients can choose which team member to book with, or Booktics can assign them automatically based on availability.
How do I set different schedules for different days?
Booktics allows you to set default working hours, add time intervals, and create custom schedules for specific days. You can also block off holidays and personal days in your calendar.
Will my clients get email reminders?
Yes. Booktics includes email notifications that confirm bookings, send reminders, and update clients if an appointment changes. You can customize these messages from your dashboard.
Is it Booktics mobile-friendly?
Yes. Booktics is designed to work well on both desktop and mobile devices. Paired with a responsive WordPress theme, your booking system will be easy to use on any screen.